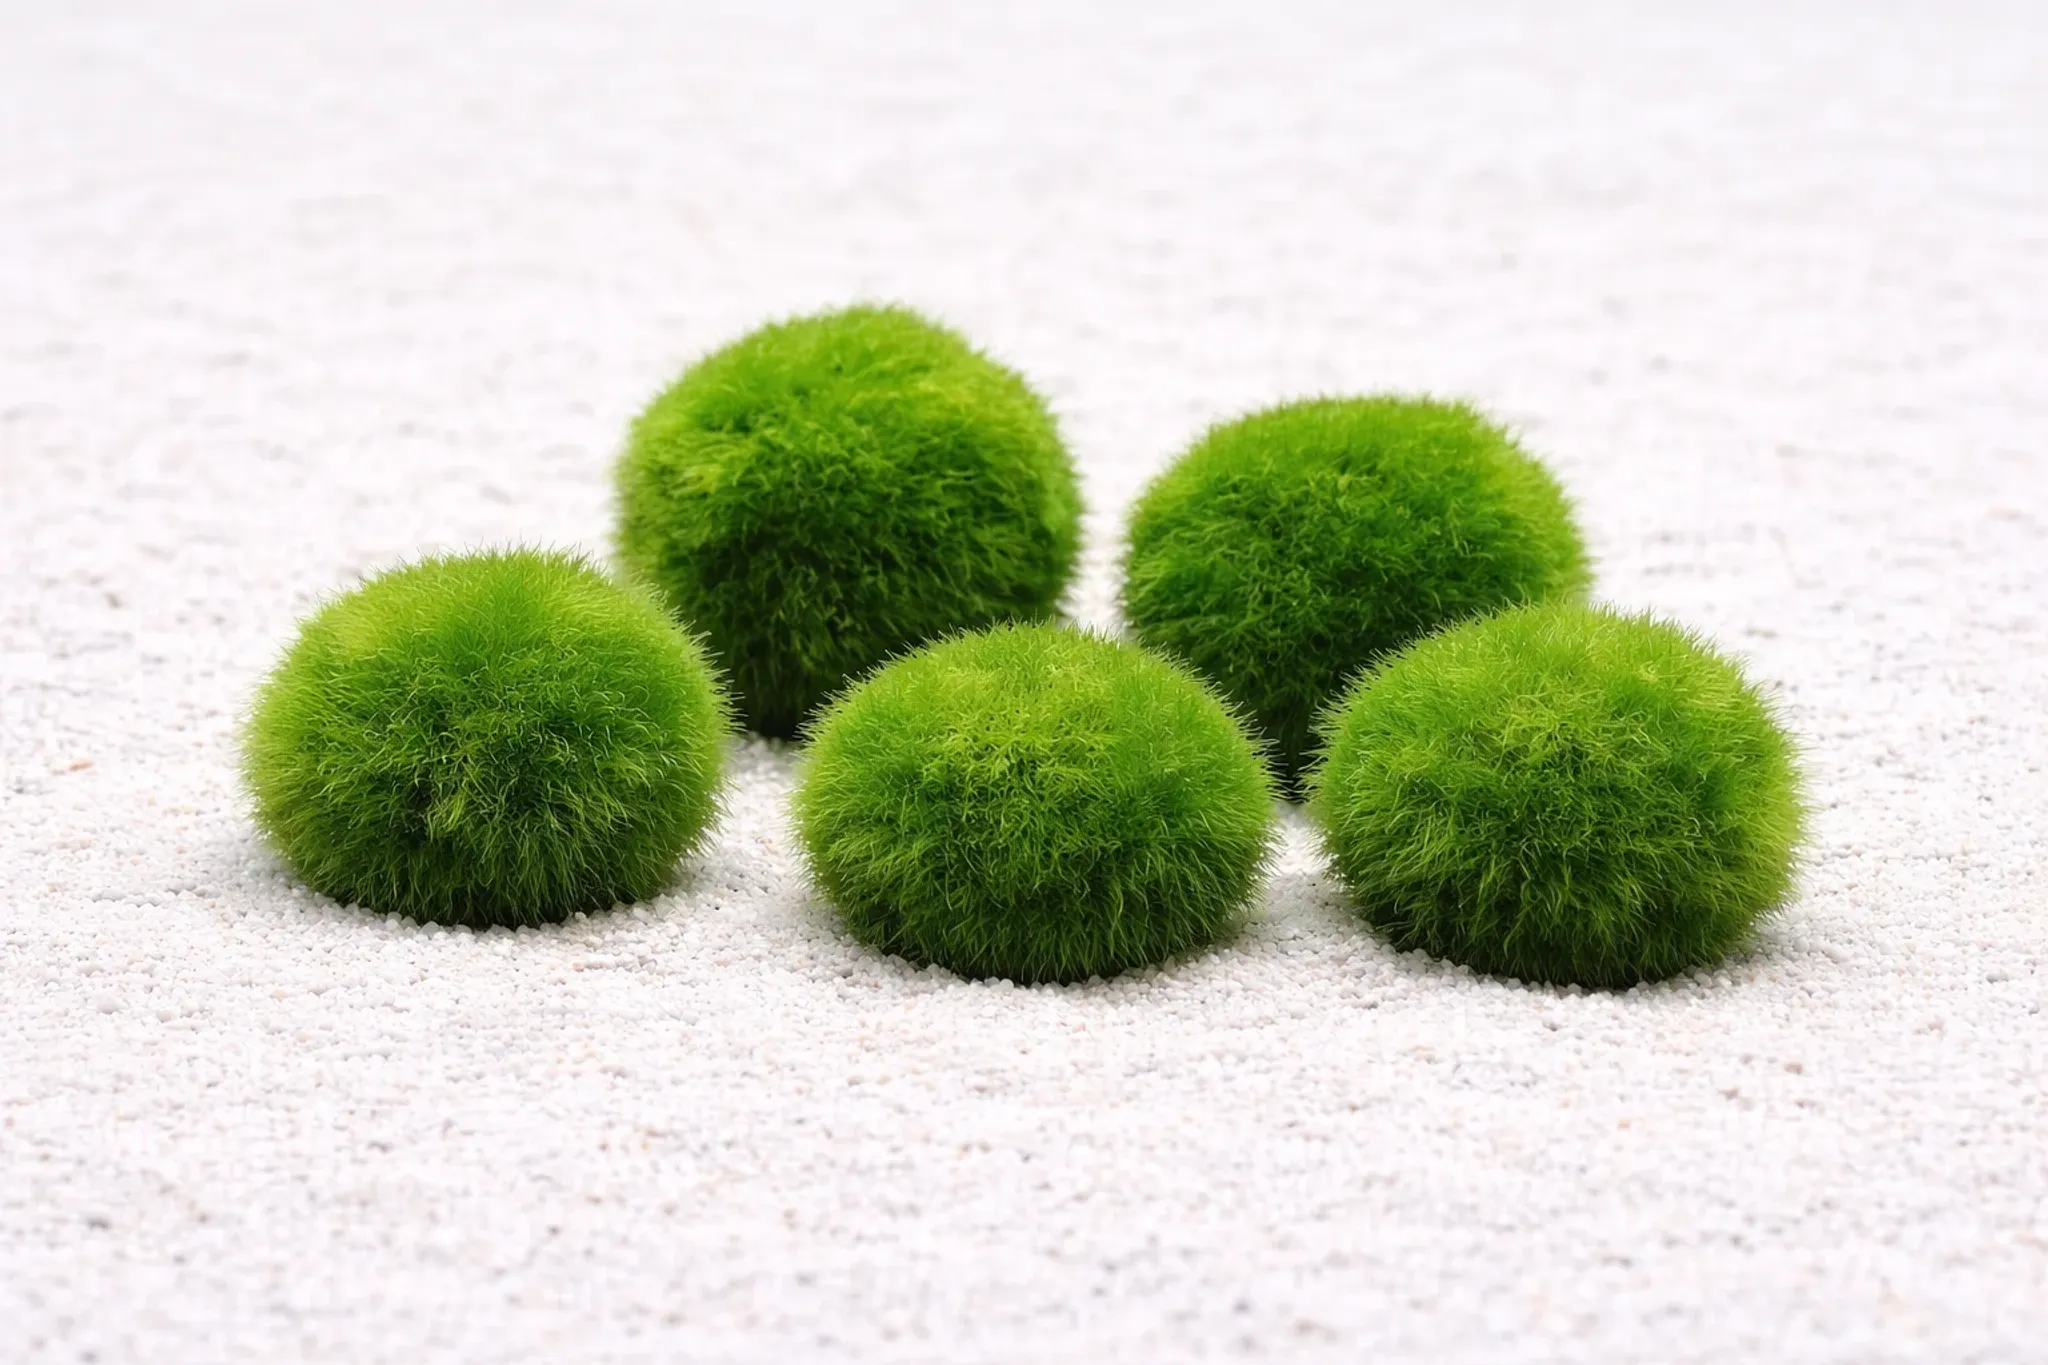

How to Plant and Propagate Marimo Moss Ball in a Freshwater Aquarium
A marimo moss ball is one of the few living decorations that thrives on neglect, but "planting" one trips up a lot of new keepers because there's no substrate involved at all. This guide covers what a marimo actually is, how to place and care for it correctly, and a step-by-step way to divide one ball into several for other tanks or as gifts.
What a Marimo Moss Ball Actually Is
Despite the name, a marimo is not a moss and has no roots, stems, or leaves. It's a colony of filamentous green algae (Aegagropila linnaei) that forms into a dense sphere as gentle water currents tumble it along lake bottoms in Japan and parts of Northern Europe. The felt-like texture comes from thousands of fine algal filaments growing outward from the center in every direction, which is also why the ball naturally holds a round shape instead of collapsing into a mat.
Because it isn't rooted, there's no "planting" step in the traditional sense — you're placing a self-contained ball into the tank, not embedding a stem in soil.
Ideal Water Parameters
Marimo balls are forgiving, but a few ranges matter for long-term health:
| Parameter | Range | Notes |
|---|---|---|
| Temperature | 59–82°F (15–28°C) | Best long-term results below ~78°F (25.5°C); treat 80°F+ (26.7°C+) as a stress zone |
| pH | 6.0–8.5 | Wide tolerance, not fussy about hardness |
| Lighting | Low to moderate, indirect | 6–8 hours of ambient aquarium light is plenty |
| CO2 / fertilizer | None required | Draws what little it needs from the water column |
| Water flow | Gentle to low-moderate | Strong flow can shred or fray the filaments |
On temperature: guides disagree on the upper limit, with some capping the "safe" range near 82–86°F. The more conservative, practical approach is to aim for the mid-60s to mid-70s°F and treat anything sustained above 80°F as a stress zone — this matters especially in betta tanks, which often run warm. A marimo does not need a heater and generally does better without one pushing the tank into the high 70s or 80s.
On water type: a few care sheets suggest distilled or rainwater is "safer." For an actual aquarium, ordinary dechlorinated tap water in an established tank is the better call — distilled water lacks the minerals a healthy tank environment needs and is really advice meant for standalone desktop bowls, not fish tanks with livestock.
How to "Plant" a Marimo Ball
There's no substrate or anchoring required. Choose whichever placement suits your layout:
- Rest it directly on the substrate — the simplest option, works in any tank.
- Let it float in open water — some keepers like the look, though it will drift with flow.
- Wedge it lightly between rocks or driftwood — keeps it in one visual spot without gluing or tying.
- Tie small divided pieces to hardscape with cotton thread — mimics a moss-covered rock or branch look as the piece knits together over time.
In a nano or betta tank, lightweight torn-off pieces can get pulled into filter intakes before they've had time to round out and gain weight. Either keep small pieces resting low and away from the intake, or loosely tie them to a piece of driftwood until they're heavy enough to stay put on their own.
Routine Care and Maintenance
A marimo's maintenance routine is short, but skipping it is the most common reason one looks unhealthy:
- Squeeze and rinse during water changes. Pick it up, gently squeeze out water into your hand (not back into the tank) to flush trapped debris and mulm, then rinse in old tank water.
- Roll it between your palms to reshape it and redistribute filaments evenly.
- Rotate its position roughly weekly to biweekly — a simple habit of rolling it at every water change works well. Advice on frequency ranges widely, from "every water change" to "only when it looks brown on one side," but tying it to your regular water-change schedule is the easiest habit to actually keep.
- Don't overhandle it. Squeezing too hard or too often can loosen the dense filament structure prematurely — gentle and occasional is the goal, not vigorous daily kneading.
Left sitting in one spot for weeks or months, the side resting on substrate stays dark, traps debris, and can mat, flatten, or turn brown or whitish. That's a placement problem, not disease — rotating and rinsing typically resolves it.
Growth Rate and Longevity
Marimo balls grow extremely slowly — commonly cited at about 0.2 inches (5 mm) of diameter growth per year. At that pace, adding a full inch of diameter can take roughly five years. This is worth keeping in mind before assuming a ball is unhealthy just because it isn't visibly getting bigger season to season.
The upside of that slow metabolism is longevity: with basic care, marimo balls are very long-lived, and wild specimens have been reported to survive for many decades, with some accounts putting certain colonies over a century old.
Tank Mates and Compatibility
Marimo balls are compatible with most peaceful community setups:
- Good matches: bettas, tetras, rasboras, livebearers, gouramis, shrimp, and snails. Shrimp keepers especially value marimo as a grazing surface, a hiding spot, and even a place for shrimp to shelter eggs.
- Poor matches: goldfish and other large grazing or omnivorous fish that will peck and shred the ball, along with boisterous or digging cichlid species that treat any loose object as a toy.
If you're stocking a betta or shrimp bowl, you can browse bettas or shrimp on FishyHub to pair with a marimo setup.
New-Arrival Hygiene
A newly purchased marimo should be rinsed thoroughly in dechlorinated water before it goes into an established tank. Marimo shipments have occasionally been implicated in the accidental introduction of pest snails or, in some documented cases, invasive mussel larvae. A brief freshwater or light salt dip, or a short quarantine period, is a sensible precaution rather than an overreaction — it costs nothing and removes real risk.
How to Propagate a Marimo Ball by Division
Turning one ball into several is straightforward, and it's the cheapest way to fill out multiple nano tanks or hand pieces off as gifts:
- Remove the ball and squeeze out excess water.
- Cut or tear it into two or more pieces with clean scissors, or by hand — tearing along a natural seam works fine and can be gentler on the filament structure than a knife cut.
- Reshape each piece into a rough sphere by rolling it firmly between your palms. It doesn't need to be perfectly round right away.
- Optionally wrap it loosely with cotton thread or fishing line to hold the shape while it knits together over the following weeks, removing the thread once the piece holds on its own.
- Return the pieces to the tank and continue the normal rotation and rinsing routine.
- Alternative use: instead of re-forming spheres, pin small torn tufts to driftwood or rock with thread to create a moss-carpet look on hardscape.
Given the growth rate above, expect newly divided pieces to regain a fuller round shape over months to a few years, not weeks — cutting doesn't speed up growth, it just gives you more starting points.
Cutting vs. Letting It Split Naturally
Division also happens on its own: a ball that's grown oblong can split into two, or small daughter balls can bud off the surface of a larger one. Deciding between the two approaches comes down to what you want:
- Natural splitting keeps the felted texture fully intact and produces a piece that's already partway to round, but it's unpredictable — you can't control when or how a ball divides.
- Active cutting is faster and lets you decide exactly how many pieces you want and when, but each cut piece starts from a rougher, looser shape and takes longer to firm back up.
If you're patient and only need one or two extra balls eventually, leaving nature to it works fine. If you want several pieces now for multiple tanks, cutting is the more reliable route.
Marimo in Small Tanks and Planted Setups
Marimo balls are a favorite in nano and desktop tanks precisely because they need no substrate, no injected CO2, and stay compact for years. They pair naturally with other low-maintenance nano plants like anubias or java fern, none of which compete with each other for root space since a marimo has no roots to begin with.
In a broader planted aquarium, think of marimo less as a true rooted plant and more as a decorative "pet algae" accent. It doesn't draw on substrate nutrients or need a dosing schedule the way stem plants do, which makes it a low-effort foreground or midground accent piece rather than part of the tank's actual planting scheme. Among easy-care aquarium plants, marimo consistently ranks alongside java moss, anubias, and java fern as one of the hardest species to actually kill.
Common Mistakes to Avoid
- Placing it under intense high-output LED lighting or direct sunlight, which can bleach the color or trigger a hair-algae bloom on its surface.
- Leaving it in one spot for months without rotating, causing the underside to flatten and mat.
- Mistaking normal brief browning after a squeeze-and-clean session for the ball dying.
- Housing it with goldfish, crayfish, or other species that will peck it apart.
- Running the tank consistently in the 80s°F.
- Skipping the rinse or quarantine step for a new, store-bought ball.
- Assuming it needs fertilizer, CO2, or substrate — none of these are necessary.
- Squeezing or handling it too hard or too often.
If flow control is part of your fix — either reducing turbulence around a marimo or improving circulation in a still corner — a gentle hang-on filter can help strike that balance without blasting the ball around the tank.
Frequently Asked Questions
Is a marimo moss ball actually a plant?
No. It's a ball-shaped colony of green algae (Aegagropila linnaei), not a moss or a vascular plant, even though it's commonly sold and discussed as one.
Does it need a heater or special lighting?
No heater is needed for most community tank temperatures, and low ambient aquarium light is sufficient — no specialized plant lighting or CO2 injection is required.
How do I keep it round?
Roll it gently in your hands during water changes and rotate its position in the tank so light exposure and physical wear stay even on all sides.
Can I cut it to make more moss balls?
Yes. Divide the ball into pieces, roll each into a rough sphere, and let them re-form over time. Given the slow growth rate, expect full regrowth to take months to a few years rather than weeks.
Why is my moss ball turning brown or falling apart?
This is usually caused by stagnant placement, decaying debris trapped inside, or a chunk that was never fully rinsed and rolled. Trim off any truly dead or slimy sections and resume regular rinsing.
Is it safe with shrimp and snails?
Yes — marimo balls are a favorite addition to shrimp tanks, providing a grazing surface, shelter, and a safe spot for shrimp to hide or shelter eggs.
Do I need to feed or fertilize it?
No. A marimo draws what little nutrition it needs from the water column and doesn't require dosing or root fertilizer.
How long do marimo balls live?
Very long, with basic care. Lifespans are commonly cited from many decades up to reports of over a century for well-established specimens.
Ready to add one to your setup? Browse freshwater livestock on FishyHub for tank mates that pair well with a low-maintenance marimo ball.


