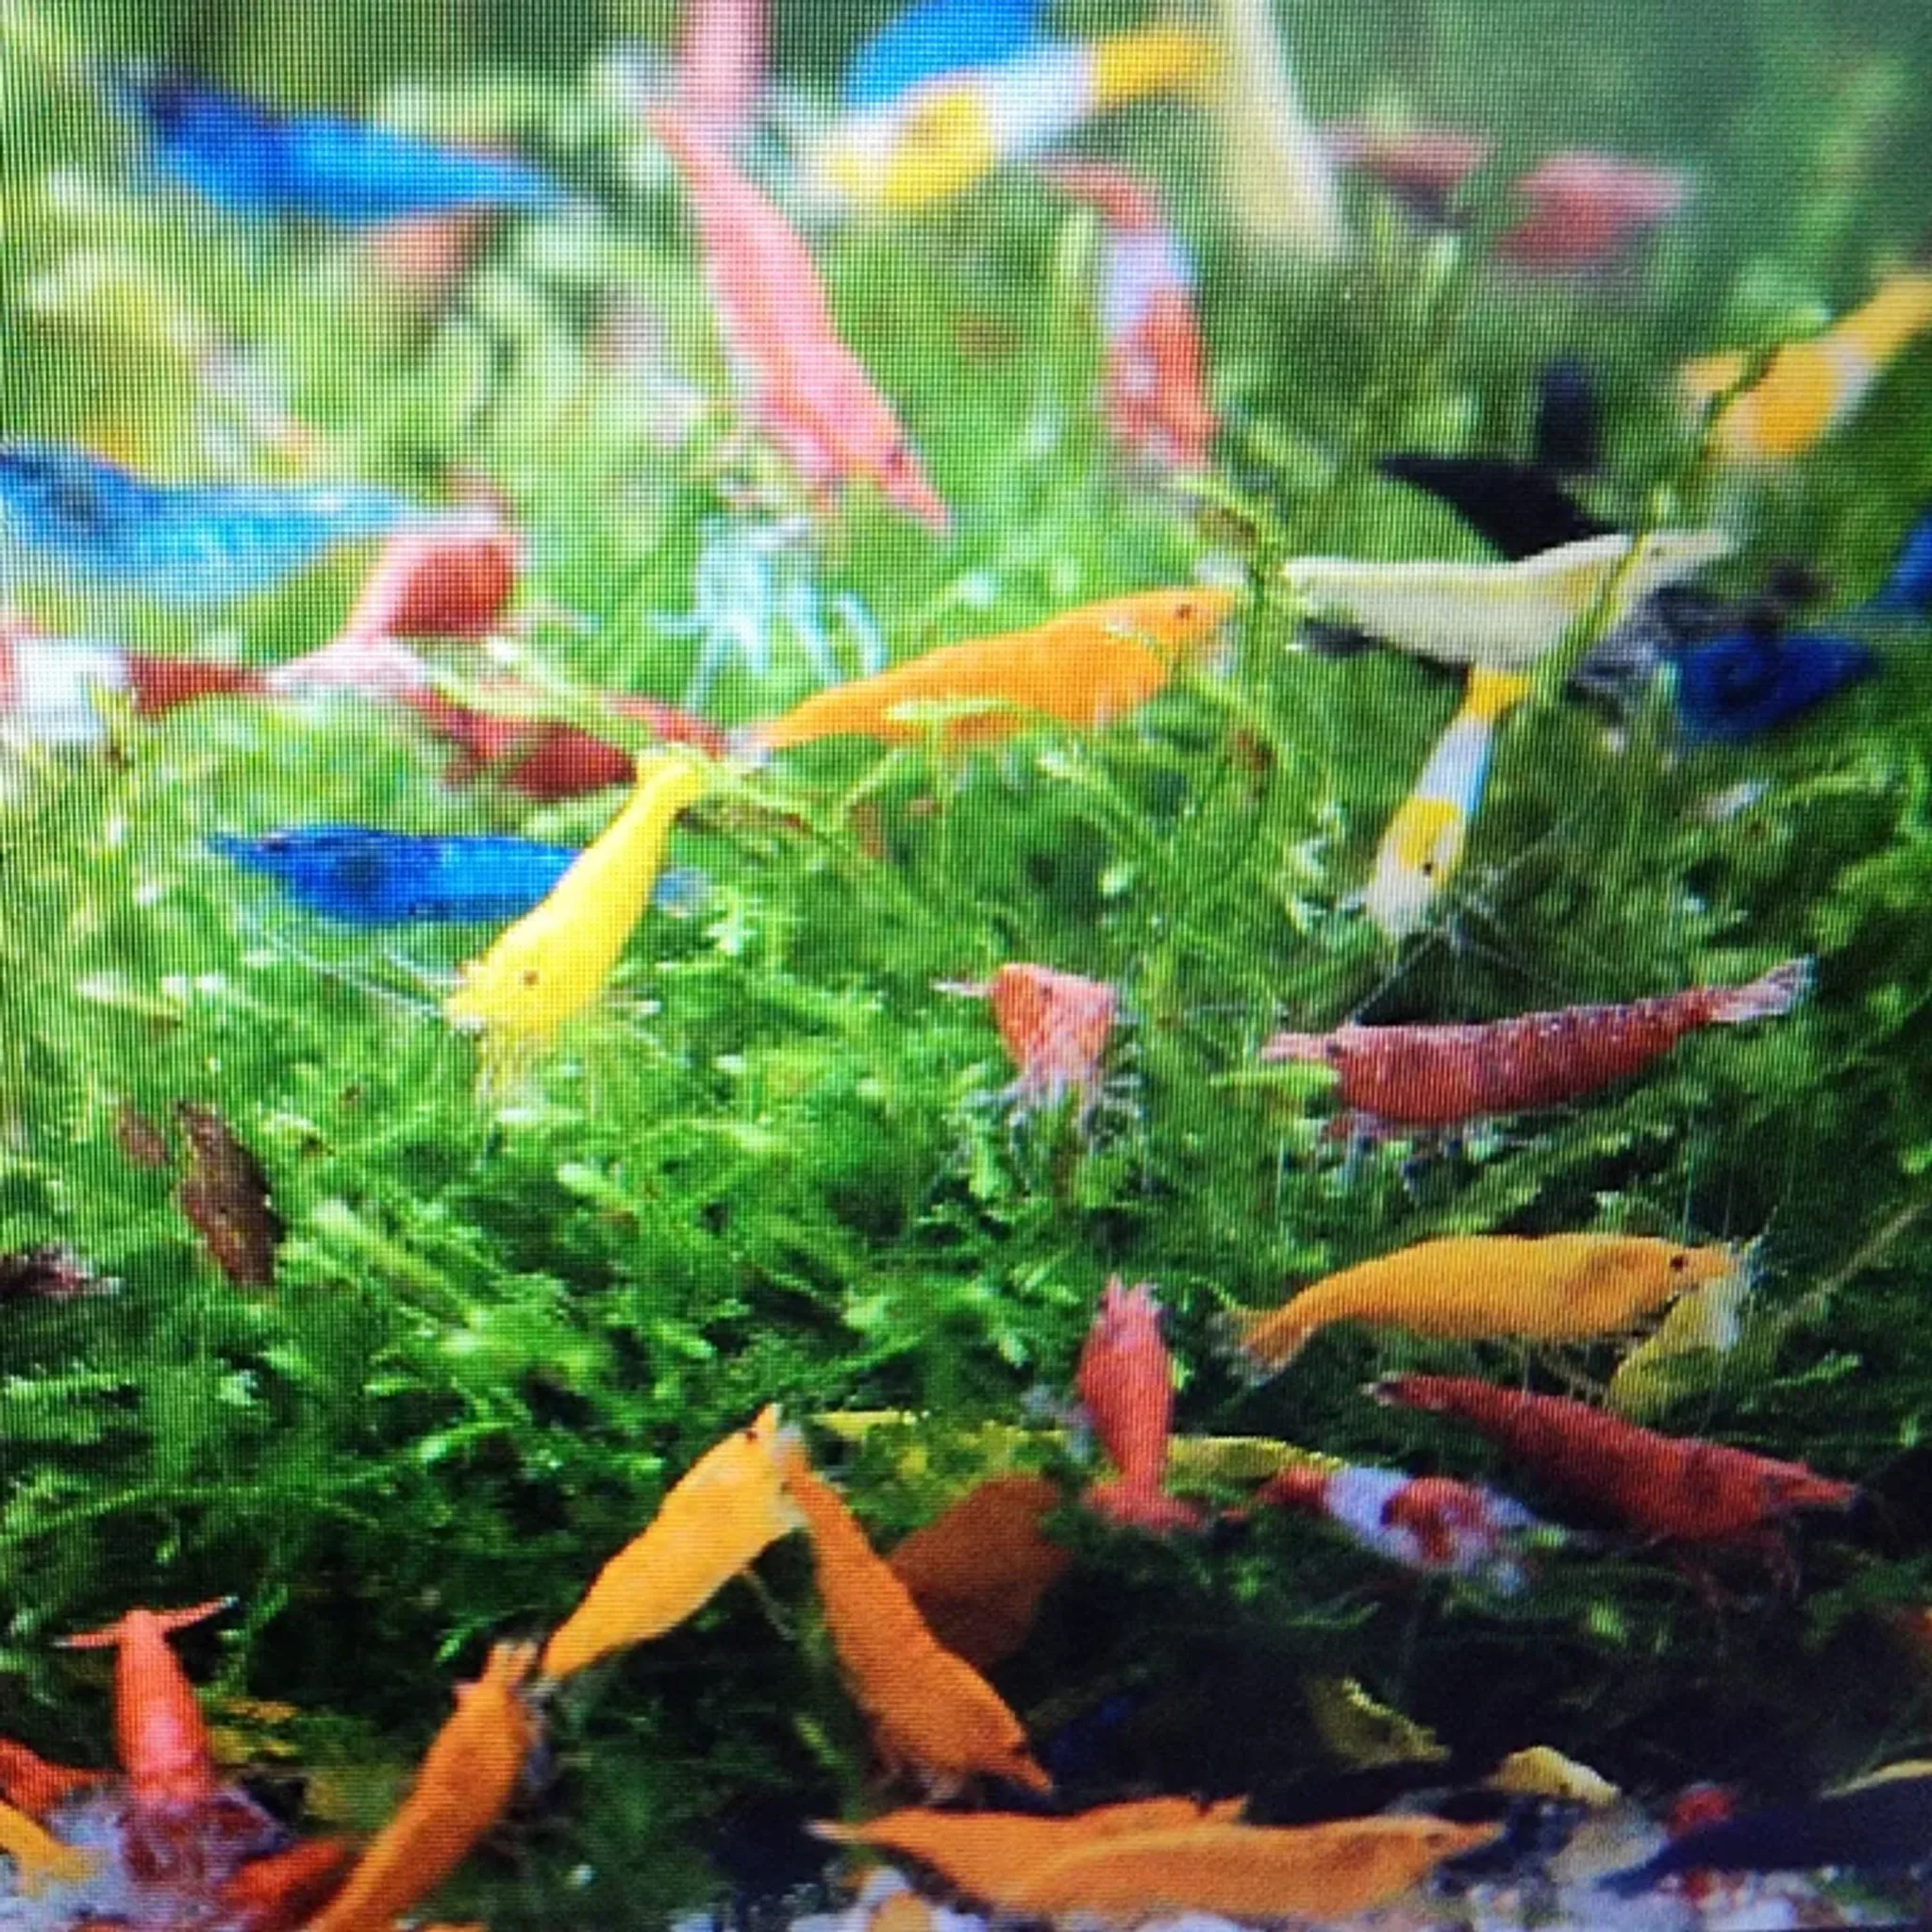
How to Set Up the Ideal Tank for Neocaridina Shrimp
Neocaridina shrimp (cherry, yellow, blue dream, and similar color strains) are the most forgiving dwarf shrimp for a first colony, but they still die fast in an uncycled or poorly planned tank. This guide walks through the full build order — tank, cycle, substrate, filter, water chemistry, plants, and stocking — so you can set up a stable home the first time.
Why Neocaridina Are the Beginner-Friendly Choice
Neocaridina shrimp tolerate a much wider range of water conditions than their cousins, Caridina shrimp (bee shrimp, tiger shrimp, and similar species). Caridina need soft, acidic water (pH 5.5–6.5) and a buffering active substrate to stay healthy long term. Neocaridina do not — they handle moderate hardness and even slightly alkaline water without special equipment. Many care guides blend the two species' needs together, which is why beginners often over-engineer a Neocaridina tank with gear it doesn't need. This guide sticks to what Neocaridina actually require.
Step 1: Pick the Right Tank Size and Shape
A 1-gallon container is technically the biological floor for a small handful of Neocaridina, but it leaves no margin for error. 5–10 gallons is the realistic beginner minimum — larger water volumes buffer temperature swings and dosing mistakes far better than anything under 5 gallons.
Once a tank is established (cycled, planted, and stable for a few months), a workable stocking guideline is roughly 5–10 shrimp per gallon. Start well below that number and let the colony grow into the tank.
Shape matters more than most people expect:
| Shape | Pros | Cons |
|---|---|---|
| Standard rectangular ("long") tank | Flat glass is easy to scrape, more surface area for oxygen exchange and biofilm, fits any filter type | Takes more floor space |
| Cube tank | Space-saving, still workable filtration | Less surface area per gallon than a long tank |
| Bowl or curved-glass tank | Compact, decorative | Hard to clean, limits filter choice, poor gas exchange |
For a first shrimp tank, a standard rectangular glass tank is the easiest to maintain — you can browse sized options in FishyHub's glass tank category.
Step 2: Cycle the Tank Fully Before Adding Shrimp
Neocaridina are more sensitive to ammonia and nitrite than most fish, so skipping or rushing the nitrogen cycle is the single leading cause of early die-offs. Run a fishless cycle for roughly 4–8 weeks, dosing ammonia and testing until both ammonia and nitrite read 0 ppm on two consecutive tests, with nitrate showing up as a byproduct.
That waiting period does double duty: it also lets biofilm and light algae build up on surfaces, which becomes the shrimp's primary food source from day one. Never add shrimp to a tank that hasn't finished this process, even if the water "looks clean."
Step 3: Choose a Substrate
Because Neocaridina don't need pH buffering, an inert substrate — sand or fine gravel — works perfectly well and is the simpler choice for a first tank. Keep depth to 1–3 inches (2.5–7.5 cm): deep enough to look natural and host bacteria and biofilm, shallow enough to avoid anaerobic pockets that release harmful gases when disturbed.
- Dark substrate is popular because it makes shrimp coloring pop — shrimp instinctively try to blend in, and dark backgrounds encourage bolder, more saturated color.
- Light substrate shows more fine detail on the shrimp but also shows debris more readily and can wash out color intensity over time.
- Active/buffering aquasoil is optional for Neocaridina but common in aquascaped tanks for its texture and plant-growth benefits. Note that these substrates typically need replacing after roughly 12–24 months once their buffering capacity fades — and rinsing them before use strips away the very buffering compounds you're paying for, so follow the product's instructions rather than rinsing on instinct.
- Nutrient-rich "planted" substrates that aren't true active soils can work well too — they support plant growth without buffering pH or KH, so don't expect them to stabilize water chemistry the way an active aquasoil does.
Step 4: Set Up Filtration
Sponge filters are the standard, safest choice for shrimp tanks. They pose no intake risk to shrimplets, cost little, and provide gentle biological filtration alongside surface area for beneficial bacteria.
| Filter type | Best for | Key consideration |
|---|---|---|
| Sponge filter | Most Neocaridina tanks, especially breeding setups | Low flow, zero shrimplet intake risk |
| Hang-on-back (HOB) | Larger tanks needing more flow | Must cover the intake with a fine sponge or pre-filter |
| Matten filter (sponge wall) | Bigger, permanent setups | More installation effort, excellent bio-capacity |
| Filterless, heavily planted (Walstad-style) | Experienced keepers only | Needs months of plant establishment first — not for beginners |
Whichever filter you choose, clean the sponge every 1–3 months using only old tank water — never tap water or soap, both of which kill off the bacteria colony living in the sponge.
Step 5: Dial In Water Parameters
Neocaridina's tolerance is the whole reason they're recommended to beginners. Aim for the ranges below rather than chasing a single "perfect" number.
| Parameter | Neocaridina range | Practical target |
|---|---|---|
| Temperature | 65–80°F (18–27°C) | Mid-70s°F, stable |
| pH | 6.5–8.0 | 7.0–7.5, stable |
| GH | ~6–8 dGH | Moderate hardness |
| KH | A few degrees | Enough for buffering capacity |
| Ammonia / Nitrite | 0 ppm | 0 ppm, always |
| Nitrate | Under 20 ppm ideally | Lower via water changes and plants |
Sources vary slightly on the ideal pH window — some quote a wide 6.5–8.0, others simplify to "neutral, 6.5–7.5." Both are reasonable; what matters more than the exact number is stability. Wild swings stress shrimp far more than a slightly-off-center steady reading.
If pH does need nudging, keep it simple: a bit of crushed coral in the filter raises pH gradually, while leaf litter or driftwood tannins lower it slightly. Most Neocaridina keepers never need to touch either.
On water source: dechlorinated tap water is fine for Neocaridina across most of the US, since the species tolerates moderate hardness well. Always treat new water with a dechlorinator before it touches the tank. RO/remineralized water is a Caridina consideration, not a Neocaridina requirement — though if you don't own a full liquid test kit, tracking GH and TDS with a simple meter is a reasonable shortcut for casual keepers to catch mineral-content problems before they become molting issues.
Heating: most Neocaridina strains do fine at normal US room temperature in the mid-60s to low-80s°F. A heater is optional unless your room runs unusually cold — stable temperature matters more than hitting any specific figure.
Step 6: Plant the Tank
A heavily planted tank isn't decoration — it's functional infrastructure for a shrimp colony. Plants grow biofilm (a primary food source), give shrimplets and molting shrimp places to hide, and help absorb nitrates.
Top Plants for a Neocaridina Tank
- Java moss – dense cover, excellent biofilm surface, ideal shrimplet nursery
- Java fern – low-light, low-maintenance, attaches to hardscape
- Anubias – slow-growing, tough, great biofilm host
- Water sprite / water wisteria – fast growth, absorbs nitrates quickly
- Dwarf hair grass or crypts – carpeting options for a more aquascaped look
- Floating plants (frogbit, salvinia, duckweed) – rapidly pull nitrogen compounds from the water, especially useful during cycling; duckweed spreads aggressively, so use with caution
Pothos: An Easy Nitrate Sponge
Pothos, a common houseplant, can be grown emersed with its roots trailing in the tank — in the filter outflow or a floating basket — while its leaves stay above the waterline. The roots absorb a substantial amount of nitrate, help prevent algae blooms, and add more biofilm surface for shrimp to graze. It's one of the lowest-effort additions you can make to a shrimp tank.
Do You Need CO2 or Fertilizer?
No. Neocaridina thrive without lush, high-tech planting. If you do fertilize, use a liquid or root fertilizer labeled shrimp-safe or invertebrate-safe, and avoid copper-based formulas entirely — copper is toxic to shrimp even in small doses. CO2 injection is an aquascaping choice, not a health requirement, and unmanaged CO2 swings can stress a colony rather than help it.
Leaf Litter and Botanicals
Indian almond (catappa), oak, banana, or guava leaves, along with alder cones, add tannins, extra biofilm surface, and shelter. Boil them first to sterilize and help them sink. These are more valuable in acidic Caridina setups, but they're a harmless, beneficial enrichment for a Neocaridina tank too — mainly as a food and biofilm source rather than a chemistry adjustment.
Step 7: Decide on a Lid
Opinions split here, so weigh it yourself:
- For: reduces evaporation, keeps out dust and other pets, stabilizes temperature, slightly limits algae from excess light.
- Against: condensation can drip onto floating plants, and it blocks light unless it has a built-in fixture.
Neither choice is wrong — base it on how dry or fluctuating your room's climate is.
Step 8: Acclimate and Stock Slowly
When introducing shrimp, use slow drip acclimation over 30–60 minutes or longer. Neocaridina are hardy long-term but sensitive to sudden parameter shock, so a fast temperature or chemistry change during introduction can kill shrimp that would otherwise thrive.
For a healthy starting colony, aim for 10–15 individuals from a single, known source rather than mixing small groups from multiple unknown batches — this gives better genetic diversity and reduces disease risk. A brief quarantine period for new arrivals is a reasonable precaution before adding them to an established colony.
One color-morph note: Neocaridina color strains (cherry, yellow, blue dream, and so on) interbreed freely. Mixing morphs in one tank usually means offspring drift back toward a brownish "wild type" over a few generations, diluting whatever color line you started with. Keep one morph per tank if maintaining pure coloring matters to you.
Browse available colonies in FishyHub's shrimp category once your tank has finished cycling.
Ongoing Maintenance
- Water changes: 10–20% weekly or biweekly, temperature-matched and dechlorinated.
- Substrate cleaning: vacuum gently, avoiding areas with visible shrimp or eggs.
- Sponge filter cleaning: every 1–3 months, swished in removed tank water only.
- Don't overclean: leave some algae and biofilm on glass corners and hardscape — it's food, not mess.
- Feeding: most nutrition comes from biofilm and algae; supplement with a small amount of algae wafer or shrimp-specific food every few days rather than daily, to avoid fouling the water.
A Quick Note on Opae Ula
If you've come across "Opae Ula shrimp tank" setups in your research, know that these are a different animal entirely — a brackish-water species that needs added salinity, no driftwood or tannins, and an alkaline pH generally above 8. None of the freshwater guidance above applies to them; don't blend the two setups.
Essential Gear Checklist
- Appropriately sized tank (5+ gallons recommended)
- Sponge filter or covered-intake filter
- Substrate (inert sand/gravel, or aquasoil if aquascaping)
- Heater, if your room runs cold
- Thermometer
- Water conditioner/dechlorinator
- Liquid test kit (or GH/TDS meter as a simpler proxy)
- Live plants and hiding places
- Feeding dish (optional)
Common Mistakes to Avoid
- Adding shrimp before the cycle finishes.
- Skipping drip acclimation because the water "looks fine."
- Using copper-based medications, fertilizers, or tap water run through copper pipes.
- Scrubbing away all algae and biofilm during cleaning.
- Rinsing an active/buffering substrate before use.
- Overstocking faster than the tank's bacteria and biofilm base can support.
- Cleaning a sponge filter with soap or tap water.
- Ignoring GH/TDS entirely — ultra-soft, unremineralized water can cause molting problems even in tolerant Neocaridina.
Looking Ahead: Breeding
Once your tank is stable for a few months, breeding tends to happen on its own. Look for saddles (a visible mass behind a female's head, signaling developing eggs) and berried females carrying eggs under their tails. Add extra fine cover — dense moss especially — to protect shrimplets, and keep flow low; a sponge filter's gentle output is ideal here since it won't pull in the tiny young.
Frequently Asked Questions
What is the minimum tank size for Neocaridina shrimp?
Technically, a gallon or two can support a small handful of shrimp, but 5–10 gallons is the realistic, more stable minimum for a beginner. Larger volumes buffer temperature and dosing mistakes far better.
Can Neocaridina shrimp live with fish?
Yes, with peaceful, small, non-predatory species. A shrimp-only tank, however, maximizes shrimplet survival, since even mild-mannered fish will often eat baby shrimp.
Do Neocaridina shrimp need a heater?
Usually not at normal US room temperatures, roughly mid-60s to low-80s°F. A heater only becomes necessary if your room regularly runs colder than that range.
How long should I cycle a tank before adding shrimp?
Plan for roughly 4–8 weeks, confirmed by an ammonia and nitrite test both reading 0 ppm, along with some visible biofilm or algae growth on surfaces.
What do Neocaridina shrimp eat in a new tank?
Mostly biofilm and algae growing on plants, glass, and hardscape. Supplement lightly with algae wafers or shrimp-specific food every few days rather than feeding daily.
Is tap water safe for Neocaridina shrimp?
Yes, in most of the US, once properly dechlorinated. Neocaridina tolerate moderate hardness well, unlike more sensitive Caridina species that need soft, acidic water.
Why did my Neocaridina shrimp die after a water change?
The most common cause is parameter or temperature shock from a change that was too large or too fast, or new water that wasn't temperature-matched. Keep changes to 10–20% and always match temperature before adding water.
Do I need CO2 or special substrate for Neocaridina?
No. That level of setup is more relevant to high-tech planted tanks or acidic-water Caridina species. Neocaridina do well with simple inert substrate and no CO2 injection at all.
Once your tank is cycled and planted, the last step is choosing your colony — explore FishyHub's full range of freshwater shrimp to find the color strain that fits your setup.


