
How to Plant and Propagate Limnophila Sessiliflora in a Freshwater Aquarium
Limnophila sessiliflora, commonly sold as dwarf ambulia or Asian marshweed, is one of the easiest stem plants to grow and multiply for free once you get the planting depth and trimming rhythm right. This guide walks through correct planting technique, ideal water conditions, and a step-by-step propagation method so a single bunch can turn into enough plants for several tanks.
What Is Limnophila Sessiliflora?
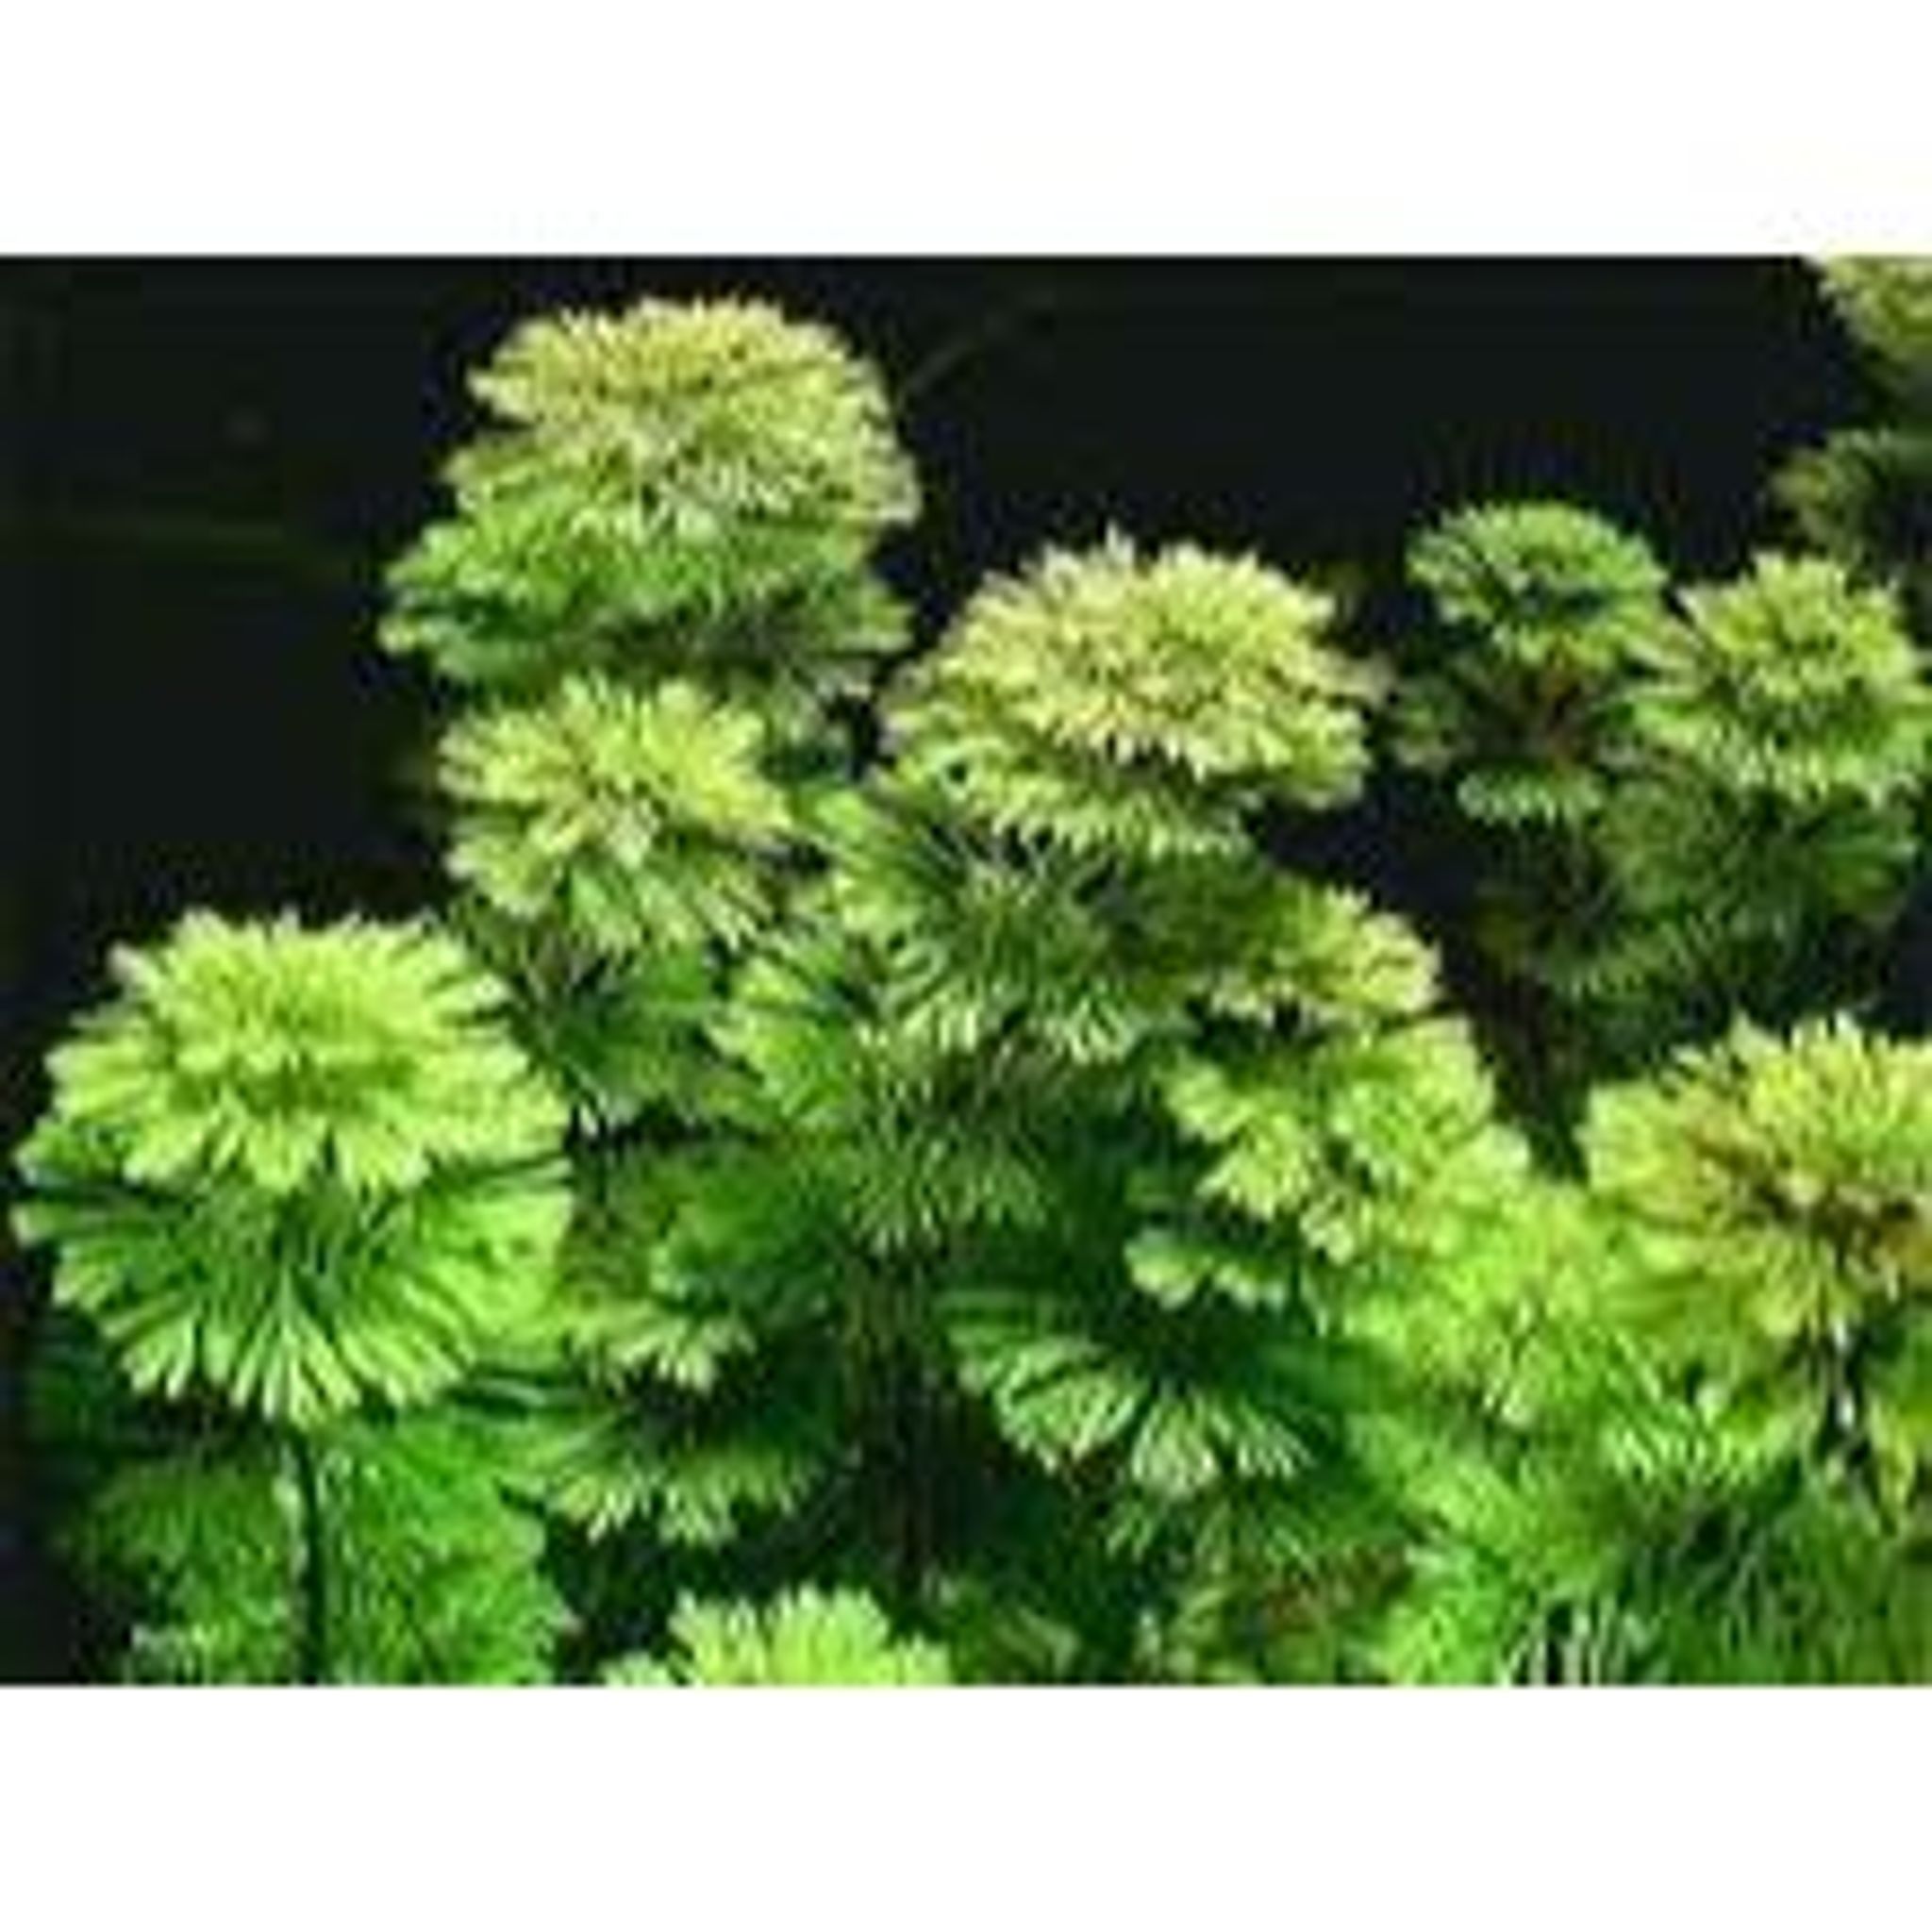
Dwarf ambulia is a fast-growing stem plant known for its feathery, finely divided, almost fern-like leaves that grow in whorls around a central stem. The foliage is light-to-medium green and gives tanks a soft, textured look that contrasts nicely with broad-leaved plants.
Left untrimmed, it can reach 12–16 inches (30–40 cm) or more, making it best suited to the background or mid-ground of medium-to-large tanks. Because a single stem looks thin and sparse on its own, plant it in bunches of several stems for a fuller appearance from the start.
Telling It Apart From Similar Plants
Because feathery stem plants get mixed up often in the trade, it helps to know the differences before you buy:
- Cabomba has softer, more translucent, fan-shaped leaf whorls and is generally more fragile and CO2-demanding.
- Myriophyllum (parrot feather/milfoil types) has stiffer, more needle-like leaflets and a coarser overall texture.
- Rotala species have narrow, simple (not finely divided) leaves arranged oppositely or in whorls, without the fern-like branching pattern.
Limnophila sessiliflora sits in between in toughness — its leaves are finer than Myriophyllum but sturdier than Cabomba, and the whorled, feathery pattern is the clearest identifier.
Ideal Water Parameters
Dwarf ambulia is tolerant of a wide range of conditions, which is part of why it's a popular starter stem plant.
| Parameter | Tolerated Range | Best Growth |
|---|---|---|
| Temperature | 68–82°F (20–28°C); brief survival reported near 60°F | 72–82°F (22–28°C) |
| pH | 5.0–8.5 | Slightly acidic to neutral (roughly 6.0–7.5) |
| Hardness (GH) | Very soft to fairly hard (GH 1–20) | Soft to moderate |
| Lighting | Low to high | Moderate to high, 10–12 hour photoperiod |
Treat the low-temperature figure as a stress-tolerance note, not a target — for reliable, consistent growth, aim to keep the tank within the mainstream tropical range rather than testing the lower limit. The same logic applies to pH: it will survive a broad range, but it grows most vigorously on the neutral-to-slightly-acidic side rather than at the extremes.
Lighting, CO2, and Fertilization
Dwarf ambulia will grow under low light, but growth and coloration improve markedly once light moves into the moderate-to-high range. A consistent 10–12 hour photoperiod keeps growth steady and reduces the risk of algae taking hold on slow-growing stems.
CO2 is not required — this plant works fine in low-tech, no-CO2 setups. That said, supplemental CO2 speeds growth, produces a bushier, denser form, and can bring out a reddish or bronze tint under strong light.
Because heavier light and CO2 both push growth rate up, they also raise the plant's nutrient demand:
- Dose a liquid macro/micro fertilizer several times a week.
- Add root tabs to the substrate near the base of the bunch, since the plant does draw some nutrients through its roots even though it isn't a heavy root feeder.
- Under strong light with no added nutrients, expect thin, pale, slow growth — a common issue owners mistake for disease when it's really a light/fertilizer mismatch.
Reading Nutrient Deficiency Symptoms
Different nutrient shortages show up differently on this plant, so matching the symptom to the cause saves guesswork:
- General pale or washed-out leaves under strong light usually point to insufficient macro or micronutrients relative to the light level — increase liquid dosing.
- Lower leaf yellowing and drop combined with thin new growth often reflects a broader fertilizing gap rather than one single nutrient, especially in a lightly stocked or newly set up tank.
- Loss of reddish/bronze coloration that was previously present under high light typically means light intensity or CO2 has dropped, not a nutrient problem — check the light and CO2 setup first before adding more fertilizer.
Substrate and Planting Depth
The substrate needs to be deep enough to anchor the stems — at least 2 inches (5 cm) — since dwarf ambulia isn't a strong root feeder but can still pull loose and float free if planted shallowly. A nutrient-rich planted substrate isn't mandatory but does noticeably boost growth rate and leaf color. Shoppers building a new setup can browse gravel and sand substrate options sized for planted tanks.
Step-by-Step: Planting a Bunch
- Separate the bunch. Gently pull the bunch apart into individual stems or small groups of 2–3 stems. Handle the leaves and stems carefully — they bruise and snap easily.
- Strip the lower leaves. Remove any leaves along the section of stem that will sit underground; buried leaves just rot and foul the water.
- Plant at the right depth. Push each stem about 1–2 inches (2.5–5 cm) into the substrate. In a nano tank, long aquascaping tweezers make this much easier — grip the stem near its base, angle it slightly, and press it in without disturbing the surrounding substrate.
- Space the stems. Leave roughly 2 inches (5 cm) between individual stems or small groups so each one gets light and room to bush out as it grows.
- Weigh it down if needed. If a stem keeps floating free, a plant weight or a small amount of extra substrate pressed around the base will hold it until roots form, usually within one to two weeks.
- Minimize handling afterward. Once stems are in, avoid replanting or moving them repeatedly — dwarf ambulia dislikes being uprooted and settles in better with minimal disturbance.
Growing It Floating or Emersed
Dwarf ambulia doesn't have to be planted at all. It can be left to float at the surface or grown emersed/semi-emersed, where it often develops a coarser, less feathery leaf form than its submerged growth. This makes it a flexible option for a sump, a paludarium margin, or simply as a floating nutrient sink while cuttings are waiting to be replanted.
How to Propagate Limnophila Sessiliflora
Propagation is simply a matter of cutting healthy stems and giving them somewhere to root — no special technique or equipment required.
- Choose a healthy stem that's grown past your desired height, with intact leaves and no melting or rot.
- Cut below a node, taking a cutting at least 2–3 inches (5–7 cm) long.
- Root the cutting one of two ways:
- Plant the cut top directly into the substrate at the same depth as described above, or
- Let it float in the water column first — roots typically appear within about a week — then plant it once roots are visible.
- Don't discard the base. The original, now-topped stem will branch and keep growing from the cut point, so a single trim produces two plants: the replanted top and the regrowing base.
In the wild, this species can also reproduce by seed, producing large numbers of seeds with high germination rates. In a home aquarium, though, stem cuttings are the only practical propagation method — seed production isn't something you'll see or need indoors.
Floating Cuttings vs. Replanting Immediately
If you're propagating heavily — to stock a second tank, share with other hobbyists, or build up a trade stash — it helps to decide up front where extra cuttings go:
- Replant immediately when you have space in the display tank and want cuttings established as soon as possible.
- Float cuttings in a sump or a separate quarantine container when you're accumulating extra stems faster than you can plant them, want to confirm they're rooting and healthy before committing them to the main scape, or are holding stock for a future tank. A floating holding area also keeps healthy backup stems on hand in case anything happens to the main planted group.
Growth Rate and Trimming
Dwarf ambulia is one of the faster-growing stem plants available, capable of adding several inches of new growth per week under good light and fertilization. That pace means it typically needs trimming every one to two weeks to stay in shape.
- Top the plant once it nears the surface or reaches your target height, cutting back roughly a third to half of the stem length.
- Stagger cut heights across a bunch rather than trimming every stem to the same level — this lets light reach lower leaves that would otherwise be shaded out.
- Replant the cuttings rather than letting them float indefinitely, keeping the group dense instead of top-heavy.
Skipping regular trims is the single most common reason this plant looks bad: bottom leaves yellow, brown, and drop as the canopy above blocks their light, leaving a bare, leggy stalk with growth only at the top.
Common Mistakes and Troubleshooting
| Problem | Likely Cause | Fix |
|---|---|---|
| Stems float free after planting | Buried too shallow | Replant 1–2 in (2.5–5 cm) deep; weigh down until rooted |
| Bare, leggy stems with growth only at top | Infrequent trimming, self-shading | Top regularly, stagger cut heights, replant cuttings |
| Leaves bruised, stems snapped | Rough handling during planting/moving | Handle gently; minimize repositioning once established |
| Thin, pale, slow growth | Low light with no added nutrients | Add liquid fertilizer and/or root tabs; increase light |
| Plant overtaking a small tank | Fast growth in a nano setup, no thinning | Trim more frequently; remove excess cuttings promptly |
| Melting or leaf loss after purchase | Transitional stress or emersed-to-submersed conversion | Keep parameters stable; new growth should resume within 1–2 weeks |
Why Add Plants Like This to Your Aquarium
Beyond looks, a well-planted tank does real work for water quality and livestock welfare:
- Nutrient uptake — plants absorb ammonia and nitrate, competing with algae for the same resources and helping keep algae growth in check.
- Oxygenation — actively growing plants add oxygen to the water during daylight hours.
- Cover and stress reduction — dense foliage gives fish and shrimp places to hide and forage, encouraging more natural behavior.
- Biofilm and bacteria — stems and root zones host beneficial bacteria and biofilm that support the nitrogen cycle and provide grazing surfaces.
- Overall aesthetics — plants simply make a tank look more natural and visually complete.
Stocking Considerations
Dense, fine-leaved dwarf ambulia is a favorite in shrimp and betta or nano community tanks, where the foliage offers cover and a grazing surface for biofilm. It also works well as a background plant behind smaller foreground species in general community setups. If you're planning a nano scape around it, browse freshwater shrimp or check current betta stock to pair with a planted background like this one.
Frequently Asked Questions
Does Limnophila sessiliflora need CO2?
No. It grows fine without supplemental CO2 in low-tech setups. Adding CO2 isn't required but does accelerate growth and improve fullness and color, especially under stronger lighting.
How do you keep it from getting leggy?
Trim it regularly, roughly every one to two weeks, cutting back a third to half of each stem's length. Stagger the cut heights across the bunch and replant the cuttings rather than letting the original stems keep climbing unchecked.
Can it float instead of being planted?
Yes, it can be grown floating or emersed/semi-emersed near the surface, though it often takes on a coarser leaf form in these arrangements. Most hobbyists prefer the feathery, submerged, planted form for the display tank.
How fast does it grow and how often should I trim?
It's one of the faster-growing stem plants, often adding several inches per week under good light and fertilization. In a well-lit, fertilized tank, plan on trimming every one to two weeks.
Is it good for beginners?
Yes. Its wide tolerance for temperature, pH, and hardness, combined with simple cutting-based propagation, makes it a low-risk starter stem plant for anyone new to planted tanks.
Will it grow in low light?
Yes, but more slowly and with less bushy growth. Moderate-to-high light paired with a consistent 10–12 hour photoperiod produces denser, more colorful growth.
How do I propagate it exactly?
Cut a healthy stem below a node, taking at least 2–3 inches (5–7 cm). Either let it root in the water column for about a week before planting, or plant the cutting directly into the substrate. The original stem will branch and regrow from the cut point, giving you two plants from one trim.
Once you're ready to start a bunch of your own, you can browse current stem plant and freshwater livestock selections on FishyHub's freshwater livestock category to plan a tank around it.


