
Common Montipora Problems: Tissue Loss, Fading, Pests and Recovery
A montipora colony can look fine one week and show bare white skeleton the next. This guide walks from symptom to likely cause to the specific action that stops the spread, then covers the husbandry habits that keep it from happening again.
Know Your Montipora Form First
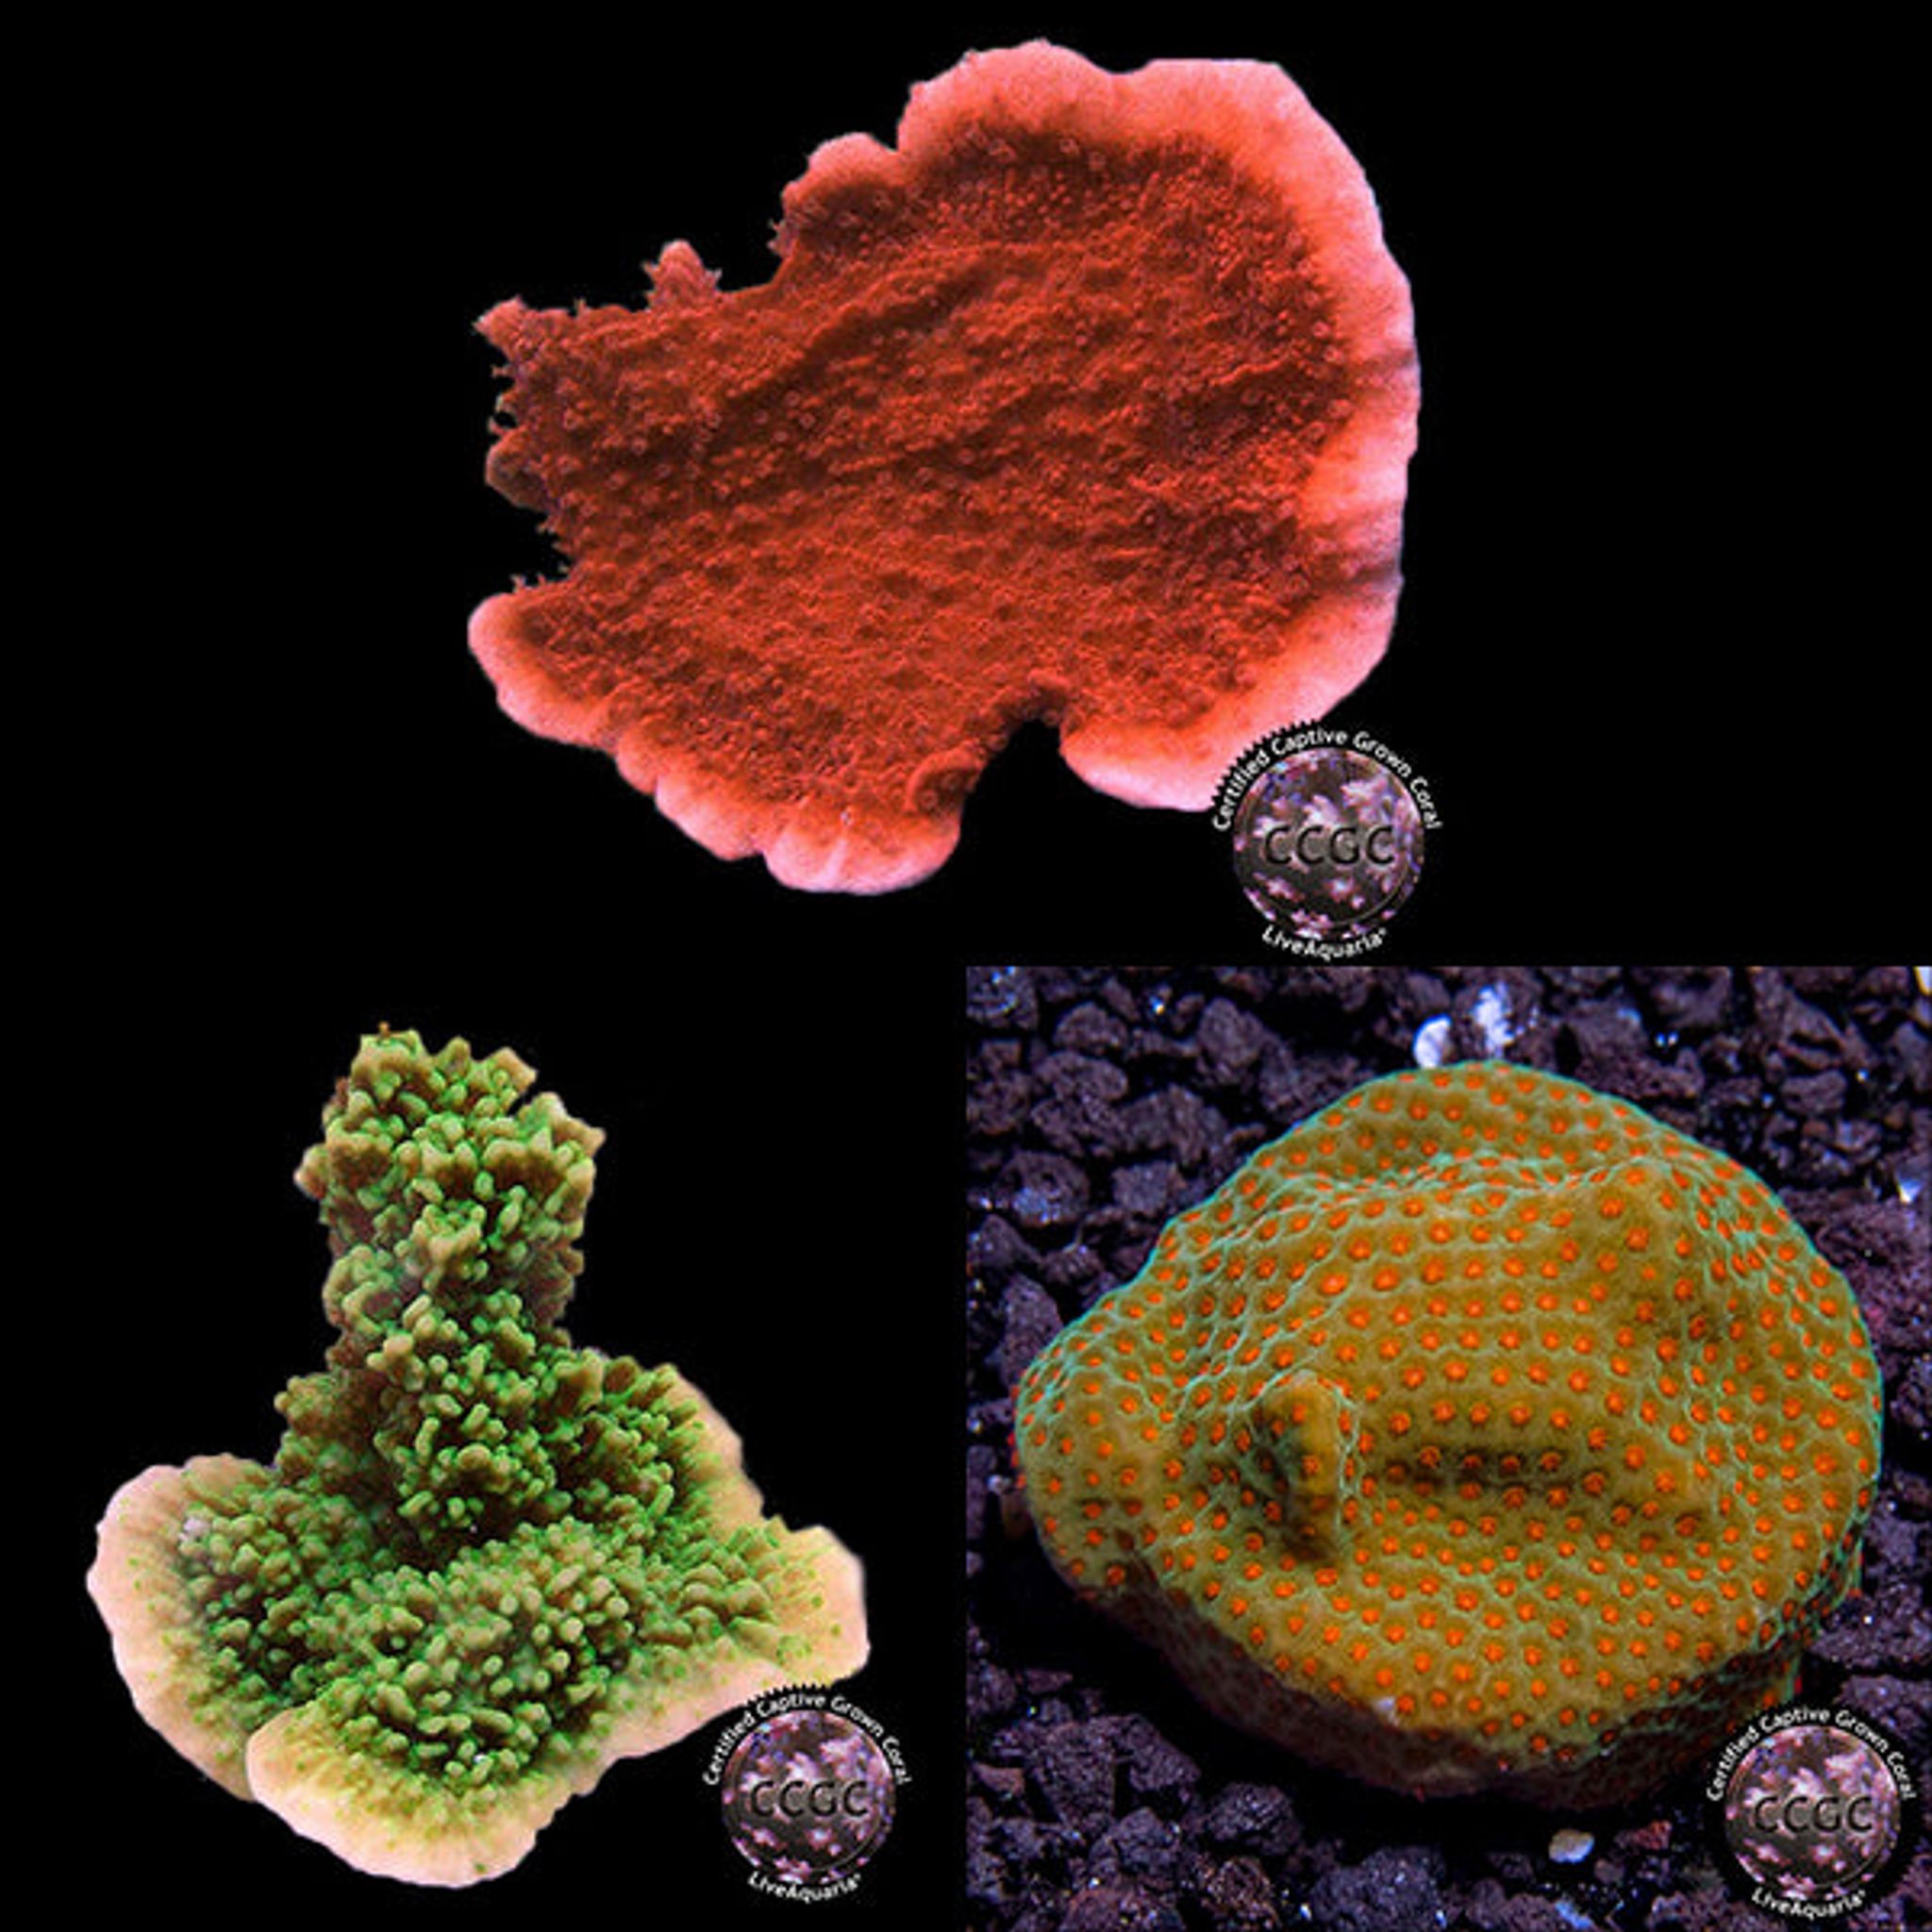
Montipora comes in a few growth forms, and the form affects how tissue loss shows up and how you should frag it.
- Encrusting/plating montipora ("Monti cap"): grows as a flat sheet over rock or a frag plug. Tissue loss often appears as a spreading bald patch across the flat surface, frequently starting where detritus has settled.
- Digitate/branching montipora: grows as upright fingers or clusters. Tissue loss more often starts at a branch tip or base and can ring an entire branch before it reaches the rest of the colony.
Encrusting forms are easier to frag around a necrotic patch since you can cut a clean ring of healthy tissue on all sides. Branching forms may require removing an entire limb if recession has wrapped around its base.
Tissue Loss: RTN vs. STN
The two tissue-loss patterns look different and call for different urgency.
| Feature | Rapid Tissue Necrosis (RTN) | Slow Tissue Necrosis (STN) |
|---|---|---|
| Speed | Hours to a single day | Days to weeks |
| Pattern | Tissue sloughs off in sheets; bare skeleton appears almost immediately | Tissue recedes gradually along a visible line or patch |
| Typical trigger | Acute shock: shipping stress, sudden temperature swing, chemical exposure, physical damage | Chronic issue: unstable alkalinity, poor water quality, allelopathy from neighboring corals, aging lighting, or pests |
| Urgency | Emergency — frag immediately | Address the root cause, monitor over 48–72 hours |
Immediate Response to Tissue Loss
Whether it's RTN or STN, act the same way once you see active recession:
- Frag above the necrotic line with a margin of a few millimeters of apparently healthy tissue — necrosis can be advancing under the surface faster than it's visible.
- Move the frag to lower light and higher, more turbulent flow temporarily to reduce metabolic stress while it stabilizes.
- Isolate the frag in a quarantine tank or an isolated flow path if you have one, so a hidden pathogen or toxin doesn't reach the rest of the colony.
- Dip the fresh cut with a coral-specific or iodine-based dip before returning the frag to any tank.
If recession continues past 48–72 hours after this response, the underlying trigger hasn't been addressed — re-check parameters and re-cut further back if needed.
Fading and Bleaching
Fading is a loss of pigment and symbiotic algae density, not tissue death — the coral flesh is still there, just pale or translucent with skeleton visible through it. Common causes:
- Light stress: too much light, or a sudden jump in intensity, especially right after shipping or a fixture upgrade.
- Heat stress: sustained temperatures above 86°F (30°C).
- Nutrient starvation: nitrate and phosphate run so low that the zooxanthellae population can't sustain itself.
A bleached colony can recover once zooxanthellae density is restored, but prolonged bleaching burns through energy reserves and eventually leads to death. Don't confuse this with normal juvenile coloration — new growth tips are naturally paler than established tissue, and that's not a symptom of anything wrong.
The Biology Behind Bleaching
Bleaching is the expulsion or breakdown of the coral's symbiotic algae (Symbiodinium) in response to stress — heat, light shock, or chemical exposure. Different Symbiodinium clades tolerate heat and light differently, which is part of why two colonies of the same species in the same tank can respond differently to identical conditions. Recovery depends on the coral re-establishing a healthy symbiont population before it exhausts its energy reserves.
Water Parameters That Matter Most
Montipora is one of the more sensitive SPS genera to swings, which makes it a useful bellwether for overall tank stability.
| Parameter | Target range | Notes |
|---|---|---|
| Temperature | 76–80°F (24–27°C) | Sustained heat above 86°F (30°C) drives bleaching |
| Salinity | 1.025–1.026 SG | Keep stable through top-off habits |
| pH | 8.1–8.4 | |
| Alkalinity | 7–9 dKH | Stability matters more than hitting an exact number; sudden swings are the most common STN trigger |
| Calcium | 400–450 ppm | |
| Magnesium | 1250–1350 ppm | |
| Nitrate | 2–10 ppm | Near-zero readings can starve zooxanthellae and cause fading |
| Phosphate | 0.03–0.1 ppm |
On alkalinity, some hobbyists chase a tight 8–9 dKH window while others report montipora tolerating 7–11 dKH without issue. The safer approach is to pick a number in the 7–9 dKH range and hold it there consistently rather than treating any single figure as sacred — the swing is the danger, not the exact setpoint. The same logic applies to nutrients: running an ultra-low-nutrient system for maximum color saturation is a common cause of pale, starved-looking SPS. Keeping a small measurable buffer of nitrate and phosphate is generally the safer bet for montipora specifically.
Lighting and Flow
Montipora generally does best under moderate-to-high PAR, roughly 100–250 depending on placement and the specific coloration. When introducing new frags or upgrading a fixture, ramp intensity and photoperiod gradually over 2–4 weeks rather than jumping straight to target settings — sudden increases are a leading cause of bleaching in newly acquired frags.
Flow should be moderate and turbulent/indirect rather than a single direct blast. This reduces detritus settling on flat encrusting surfaces — a common, underrated trigger for localized tissue loss — without closing polyps up entirely.
Pests Specific to Montipora
Two pests are worth watching for specifically on montipora:
- Montipora-eating nudibranchs: tiny, cryptic, and colored to match the coral, making them easy to miss. Look for pinpoint white spots of missing tissue and small white egg spirals laid directly on the coral surface. A loupe or magnifier makes them much easier to spot.
- Acropora/Montipora flatworms: cause similar pinpoint tissue loss and white spotting that spreads across the colony.
Red bugs primarily target Acropora, but the same inspection and quarantine practices apply across SPS.
Vermetid Snails
Vermetids are sessile, tube-like snails that cement themselves to rock or coral bases and cast sticky mucus feeding nets across nearby polyps. The nets smother and starve tissue, and they also snag detritus that irritates the coral, leading to localized recession near the tube.
- Manual removal — cracking or cutting the tube at its base, or puncturing the snail in place — is the most consistently effective control method.
- Predatory snails, such as bumblebee snails, give inconsistent results across reports and shouldn't be relied on as a sole control method.
- Prevention is the real priority: strict quarantine of new rock and coral keeps vermetids from entering the display in the first place.
Small numbers of vermetids in low-value spots may be tolerable, but near a valuable montipora colony, removal is worth the effort before the mucus nets do lasting damage.
Protecting a Tank from Coral Pests
A consistent quarantine routine prevents most pest problems before they start:
- Quarantine every new coral and rock for 2–4 weeks, even frags from a trusted source — pests hitchhike on captive-bred frags too.
- Dip on arrival, using a coral-specific or iodine-based dip, and dip again before moving the coral into the display.
- Inspect under magnification for eggs, flatworms, or nudibranchs before and during quarantine.
- Avoid transferring water or frag plugs from an unknown source directly into your display.
- Keep a hospital or quarantine setup ready so you're not scrambling to isolate a problem colony when something turns up.
If you don't have a dedicated quarantine tank, an isolated cup or floating acclimation box within the display can serve as a short-term holding spot while you diagnose a suspicious frag — not a substitute for real quarantine, but a workable emergency option.
Troubleshooting Coral Fragging
Fragging itself is a common, avoidable source of tissue loss when done carelessly:
- Use sharp bone or wire cutters. A dull blade crushes tissue instead of cutting cleanly, which invites necrosis at the cut line.
- Frag during stable water parameters, not immediately after a coral arrives or right after a parameter swing.
- Dip the frag immediately after cutting to protect the fresh wound from pathogens.
- Mount without gluing over live tissue — glue should only contact skeleton or plug material.
- Give the frag reduced light and flow initially, then ramp back up over 1–2 weeks as it shows recovery signs.
On margin size, opinions differ: some hobbyists cut right at the visible tissue line to save more of the colony, others leave a buffer of a few millimeters of apparently healthy tissue since necrosis can be advancing invisibly. For a valuable colony, cutting with a margin and re-cutting later if recession continues is the safer path.
Equipment That Supports Stability
Several pieces of equipment reduce the parameter swings that trigger montipora problems, though none are mandatory for a single colony.
- Protein skimmers pull dissolved organics out of the water before they break down into nutrients, supporting the overall water quality montipora needs.
- Media reactors — GFO for phosphate, carbon for water clarity and toxin removal, biopellets or similar media for nitrate control — let you fine-tune nutrient levels that affect both pest pressure and coral coloration. Running carbon or GFO inconsistently (on-again, off-again) can itself cause nutrient swings that stress tissue, so consistency matters more than the specific media chosen.
- Calcium reactors dissolve calcium-carbonate media with CO2 to automatically replenish calcium and alkalinity, reducing the swings that manual two-part dosing can introduce. These become worthwhile once coral biomass outpaces what manual dosing can keep stable.
- Dosing pumps automate calcium, alkalinity, and trace element dosing on a schedule, delivering small frequent doses rather than large infrequent ones — directly reducing the alkalinity swings linked to STN. Most valuable once a tank's SPS/montipora biomass makes manual dosing inconsistent; not required for a lower-demand or soft-coral-dominant setup.
- Sumps add water volume below the display, which dilutes swings and buys more reaction time, while also housing equipment and a refugium out of sight. A larger effective water volume is one of the simplest ways to reduce the swings that trigger tissue loss in the first place.
None of this equipment is required for a single montipora colony — manual dosing and a basic filter setup can keep parameters stable enough. It becomes worth the investment once total coral demand outpaces what manual routines can reliably hold steady. You can browse SPS corals and coral-safe water conditioners and additives on FishyHub when planning a setup.
Recovery Signs and a Quick Triage Checklist
Good signs that a montipora is recovering:
- Tissue reattaching over bare skeleton at the margin
- Polyp extension returning
- Color deepening back toward normal over 1–3 weeks
If a colony shows continued spread past 48–72 hours, run through this order:
- Check flow — is detritus settling on the tissue?
- Check alkalinity stability — has it swung recently, even if the current reading looks fine?
- Inspect for pests — pinpoint white spots, egg spirals, or vermetid tubes nearby?
- Check light history — any recent intensity increase or fixture change?
Common mistakes that make things worse: adding a new frag straight into a bright, high-flow display without acclimation; ignoring a small necrotic spot "to see if it heals" while it wipes out the colony in 24–72 hours; blaming a vague "STN" without actually testing alkalinity and calcium stability first; and gluing frags directly onto old, detritus-covered rock or right next to aggressive neighbors without a buffer zone.
Frequently Asked Questions
Can a montipora recover from tissue loss on its own?
Yes, if the trigger is removed and enough healthy tissue remains. Reattachment and polyp extension within 1–3 weeks are good signs, while continued spread means the underlying cause is still active.
What does montipora bleaching look like vs. dying?
Bleached tissue is intact but pale, white, or translucent, with the skeleton visible through it. Dead tissue is gone entirely, exposing bare white skeleton with no coral flesh remaining.
How fast does RTN spread?
RTN can consume an entire colony within 24–72 hours once it starts. Fragging above the margin immediately is the standard emergency response.
Are montipora-eating nudibranchs visible to the naked eye?
They're tiny and colored to match the coral, so they're easy to miss without magnification. Look for pinpoint white spots of missing tissue and small white egg spirals on the coral surface, and inspect with a loupe or magnifier.
Do I need a calcium reactor or dosing pump for one montipora colony?
No — manual two-part dosing is generally fine for a light SPS bioload. Reactors and dosing pumps become worthwhile once total coral demand makes manual dosing inconsistent.
Why is my montipora losing color but not tissue?
This is usually light stress, heat stress, or nutrient depletion reducing zooxanthellae density, rather than an active pest or infection. Check PAR, temperature, and nitrate/phosphate levels first.
Do vermetid snails always need to be removed?
Small numbers in low-value spots may be tolerable, but near valuable montipora colonies removal is recommended, since their mucus feeding nets progressively smother and starve nearby polyps.
How do I quarantine a new montipora frag properly?
Dip it on arrival, then hold it 2–4 weeks in a separate system with stable but somewhat lower light and flow. Inspect regularly under magnification for pests or eggs, and dip again before moving it into the display.
Ready to add or replace a montipora colony once your parameters and quarantine routine are dialed in? Browse the current selection of corals on FishyHub.


