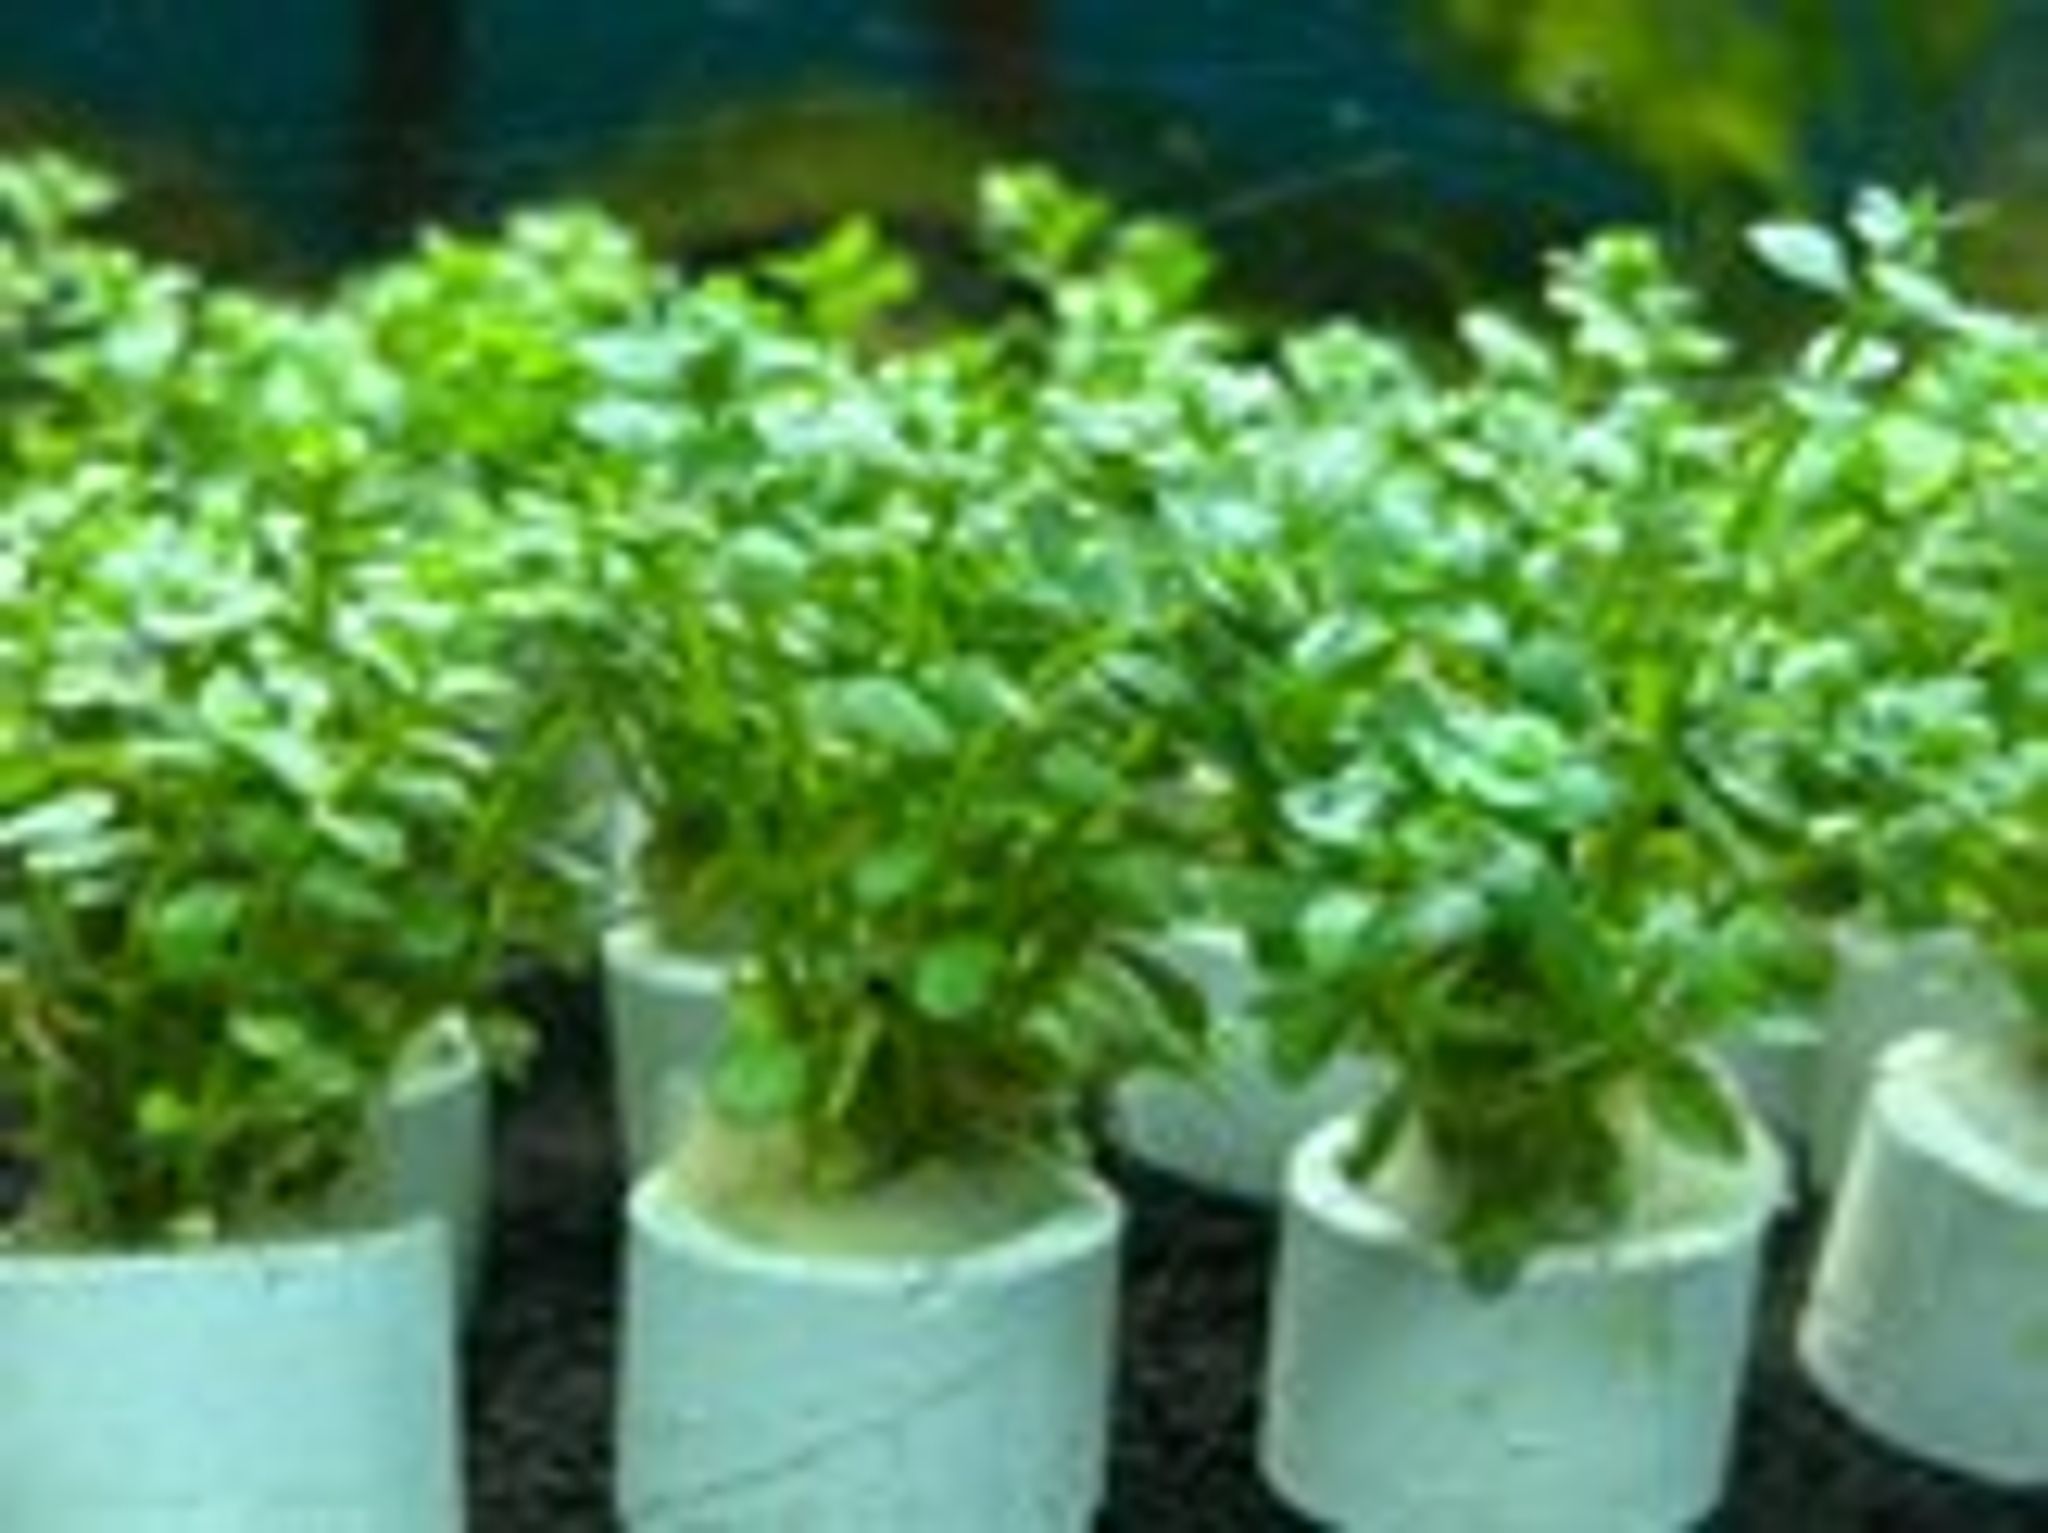
How to Plant and Propagate Rotala Rotundifolia in a Freshwater Aquarium
Rotala rotundifolia is one of the easiest red stem plants to grow, but a lot of new keepers plant it wrong and end up with floating stems or a bald, leggy patch a few weeks later. This guide walks through planting bunches or tissue culture correctly, dialing in conditions for compact red growth, and treating trimming and propagation as one ongoing cycle instead of an afterthought.
What Makes Rotala Rotundifolia a Good Choice
Rotala rotundifolia is a fast-growing, undemanding stem plant that works well as a midground or background accent, producing green growth in shade and red-to-pink tones under stronger light. It's considered one of the more beginner-friendly red stem plants because it tolerates a fairly wide range of water conditions rather than demanding a pristine, high-tech setup.
- Temperature: roughly 68–82°F (20–28°C)
- pH: about 6.0–7.5 ideal, tolerating a broader 5.0–8.0 range
- Hardness: adapts to moderate to hard water
- Growth rate: up to about 1 inch (2.5 cm) per week under strong light, CO2, and fertilization
Because it grows quickly and reacts visibly to changes in light, nutrients, and CO2, it also doubles as a useful "indicator plant" — if it stalls or fades, something in the tank's parameters usually needs adjusting.
Setting Up Conditions Before You Plant
Light
Rotala rotundifolia wants medium-to-high light — roughly in the 2–3+ watts per gallon equivalent range with older lighting, or an LED in the 6,500–8,000K range with reasonable intensity. Exact numbers vary a lot between fixtures and are described inconsistently across sources, so treat this as a rough target rather than a hard spec: more light paired with more CO2 and nutrients generally means shorter internodes and deeper red color, while low light gives tall, sparse, mostly green growth. Run the photoperiod for 8–10 hours a day, and browse the LED lighting options if you need to upgrade a fixture that's clearly underpowering the tank.
CO2 and Carbon
CO2 is optional for Rotala rotundifolia, not mandatory — it will survive and grow without it. That said, CO2 injection or a liquid carbon supplement is the single biggest lever for density and color: with it, stems stay tighter and redder; without it, growth is slower, greener, and more prone to gaps between leaves. If you're not ready to run pressurized CO2, liquid carbon dosed on a normal schedule is a reasonable middle ground.
Substrate and Nutrients
Rotala benefits from either an inert substrate supplemented with root tabs or a nutrient-rich planted-tank substrate, plus a regular liquid fertilizer routine. Iron dosing in particular intensifies red coloration, so a fertilizer with available iron and micronutrients matters more here than for a plain green stem plant. If you're setting up a new scape, comparing substrate options or a nutrient-rich aquarium soil against inert gravel plus root tabs is worth doing before you plant, since it changes how much you'll need to dose afterward.
| Substrate approach | Fertilizing needs |
|---|---|
| Inert gravel or sand | Root tabs near the stems, plus regular liquid fertilizer and iron |
| Nutrient-rich aquasoil | Lighter root tab use early on, liquid fertilizer still needed as substrate depletes over months |
Planting Rotala Rotundifolia Step by Step
Planting from Bunches
Bunches sold with a lead strip or rubber band around the base should never go into the substrate as one clump — that leads to poor root contact and stems that float free later. Instead:
- Remove the lead, foam, or rubber band from the base of the bunch.
- Separate the bunch into individual stems.
- Trim off any roots or lower leaves that would sit buried and rot underground.
- If the stems were grown emersed (out of water, as most nursery-grown bunches are), pinch off the emersed-form leaves before planting — they typically die back underwater anyway, and removing them ahead of time reduces melt.
- Using long tweezers or aquascaping pinsettes, bury each stem about 0.5–1 inch into the substrate, spacing individual stems roughly 0.5 inch apart in small groups for a fuller look from day one.
Avoid pinching stems between your fingers to push them in — it's easy to crush the stem tissue this way. Tweezers give you the control to plant deep enough that the stem stays anchored without floating up, without squeezing it.
Planting from Tissue Culture
Tissue culture cups contain a gel-free, sterile clump of small plantlets. To plant:
- Rinse the culture gently to remove any leftover gel medium.
- Divide it into small clumps rather than planting the whole cup as one mass.
- Press each clump gently onto the substrate surface, or tuck it just under the top layer.
Tissue culture grows in gradually as a clustered stand over the following weeks rather than looking full immediately, so give it time before judging density.
If You're Nervous About Direct Planting
A handy trick sources rarely mention: you can float loose cuttings in the tank for a week or two before planting. Rotala roots fairly readily from stem nodes even while floating, and once you see small root threads forming, planting the rooted stem is far less fiddly than working with a bare cutting. This is also a good way to start a small dedicated propagation or grow-out container if you want a standing supply of trimmings for a display tank.
Handling Melt After Planting
Some yellowing or melting in the first one to two weeks after planting is normal — it's the plant shedding tissue that grew emersed as it converts to fully submersed growth. This is worse when emersed leaves weren't trimmed off before planting. New growth at the stem tips within one to two weeks is the sign the plant has taken and is recovering; if a stem shows zero new growth after a few weeks and keeps deteriorating, it's likely lost and can be replaced with a healthier cutting.
Trimming and Propagation as One Cycle
This is where Rotala rotundifolia really earns its reputation as an easy plant to multiply: trimming and propagating it are the same action.
How to Trim
- Trim once stems approach the water surface, or once a stem has put on roughly 2–3 nodes of new growth since its last cut — go by growth stage, not a fixed calendar, since speed varies with light and CO2.
- Cut just below a node (the point where a pair of leaves attaches), using sharp aquascaping scissors or a razor rather than dull scissors or fingers. A clean cut heals faster and is less prone to rot or infection than a ragged, torn one.
- Strip the lower leaves off the cutting before replanting so the stem's energy goes into rooting rather than supporting leaves that will just melt off anyway.
What Happens Next
The parent stem typically responds to a cut by branching into two new shoots at the node just below where you cut, so one stem becomes two over time. The cut top, once replanted, grows its own roots and continues as an independent plant. Repeat this cycle regularly and stem counts multiply quickly — a single dense bunch can fill out an entire background over a couple of months of routine trims.
Preventing the "Bald Bottom, Bushy Top" Look
Letting stems grow tall and leggy before trimming is the most common mistake. Once the canopy closes in, lower leaves get shaded out and die back, leaving bare stems with all the growth up top. Fixing this is mostly about timing: trim earlier and more often rather than waiting for stems to reach the surface, so light keeps reaching the lower portions of the plant.
After Trimming: Anchoring Cuttings
Freshly replanted cuttings can float loose if they aren't pressed in firmly or anchored until roots take hold — press each one into the substrate securely, or use a small planting weight for the first week or two.
Ongoing Maintenance and Aquascape Trimming
Treat trimming as routine tank maintenance, not a one-time or seasonal event. Fast growers like Rotala can quickly shade out and overtake neighboring plants if left unchecked. About two to three weeks after initial planting, once stems have established, it's normal to do a first trim of background stems that have hit the surface, replant the best cuttings, and leave sparser foreground growth alone aside from clearing dead material. As a tank fills in over months, a full "reset" — uprooting and replanting the whole stand — may eventually be needed once it gets overcrowded.
A weekly routine that supports steady growth:
- 10–25% water change
- Remove debris and dead or melted leaves
- Dose liquid fertilizer and/or liquid carbon
- Check CO2 supply if running injection
- Monitor nitrate and phosphate levels
Watch for pearling — strings of tiny oxygen bubbles forming on the leaves — as a sign of strong photosynthesis. It's encouraged by more light, more CO2, warmer water, fresh water changes, and a recent trim. It's a nice health indicator, not something a plant strictly needs to show to be doing fine.
Common Mistakes to Avoid
| Mistake | Fix |
|---|---|
| Planting a whole bunch as one clump | Separate into individual stems before planting |
| Burying stems too shallow | Bury 0.5–1 inch deep with tweezers, not fingers |
| Skipping emersed-leaf removal | Strip emersed leaves before planting to reduce melt |
| Letting stems get leggy before trimming | Trim by growth stage, every couple of weeks or near the surface |
| No fertilization in low-nutrient substrate | Add root tabs and a liquid fertilizer routine |
| Snapping stems with dull scissors or fingers | Use sharp aquascaping scissors for clean cuts |
| Cuttings floating after a trim | Anchor firmly or use a planting weight until rooted |
| Raising light/CO2 too fast | Increase gradually to avoid triggering algae |
A Note on Algae Risk
Because Rotala rotundifolia grows fast, it also shows the effects of mismatched light and CO2 faster than slower plants — if light goes up without a matching increase in CO2 and nutrients, algae tends to show up before the plant even has a chance to use the extra light. When adjusting intensity or photoperiod, make one change at a time and give the tank a week or two to respond before adjusting further.
Tank Compatibility
Rotala rotundifolia's compact growth and tolerance for a range of parameters make it a solid fit for shrimp tanks and low-flow nano setups, since dense stems give shrimp and fry places to graze and hide. It also works well in betta tanks, where the moderate flow and modest bioload typical of those setups suit its needs without demanding a heavily equipped aquascape.
Frequently Asked Questions
How fast does Rotala rotundifolia grow?
Under strong light, CO2, and consistent fertilization, it can grow roughly up to an inch (2.5 cm) per week. In a low-tech setup without CO2, expect noticeably slower growth.
Does Rotala rotundifolia need CO2?
No, it can grow without CO2, but CO2 injection or liquid carbon markedly improves density, growth speed, and red coloration compared to a non-CO2 setup.
Why is my Rotala turning green instead of red?
This usually comes down to insufficient light intensity or duration, low iron and micronutrient dosing, or a lack of CO2. Increasing all three together tends to intensify red tones more than adjusting just one.
Why did my newly planted Rotala melt or turn brown?
That's typically normal transition shock as the plant converts from emersed to submersed growth, and it's often worse when emersed leaves weren't trimmed off before planting. New shoots appearing within one to two weeks are the sign it's recovering.
How do I keep Rotala from getting leggy or bare at the bottom?
Trim the tops regularly — roughly every couple of weeks or once stems near the surface — and replant the cuttings. Regular trimming keeps light reaching the lower leaves instead of letting the canopy shade them out.
Can I just replant the trimmings?
Yes, that's the standard way to propagate it. Each cutting roots on its own once replanted, while the parent stem branches into two new stems at the node below the cut.
How deep and how far apart should stems be planted?
Bury stems about 0.5–1 inch into the substrate, spacing individual stems around 0.5 inch apart if you want a dense look from the start.
Once you've got a planting and trimming rhythm down, browsing the full range of substrate and aquarium soil options on FishyHub is a good next step for dialing in the base your Rotala rotundifolia — and the rest of your planted tank — will grow in.

