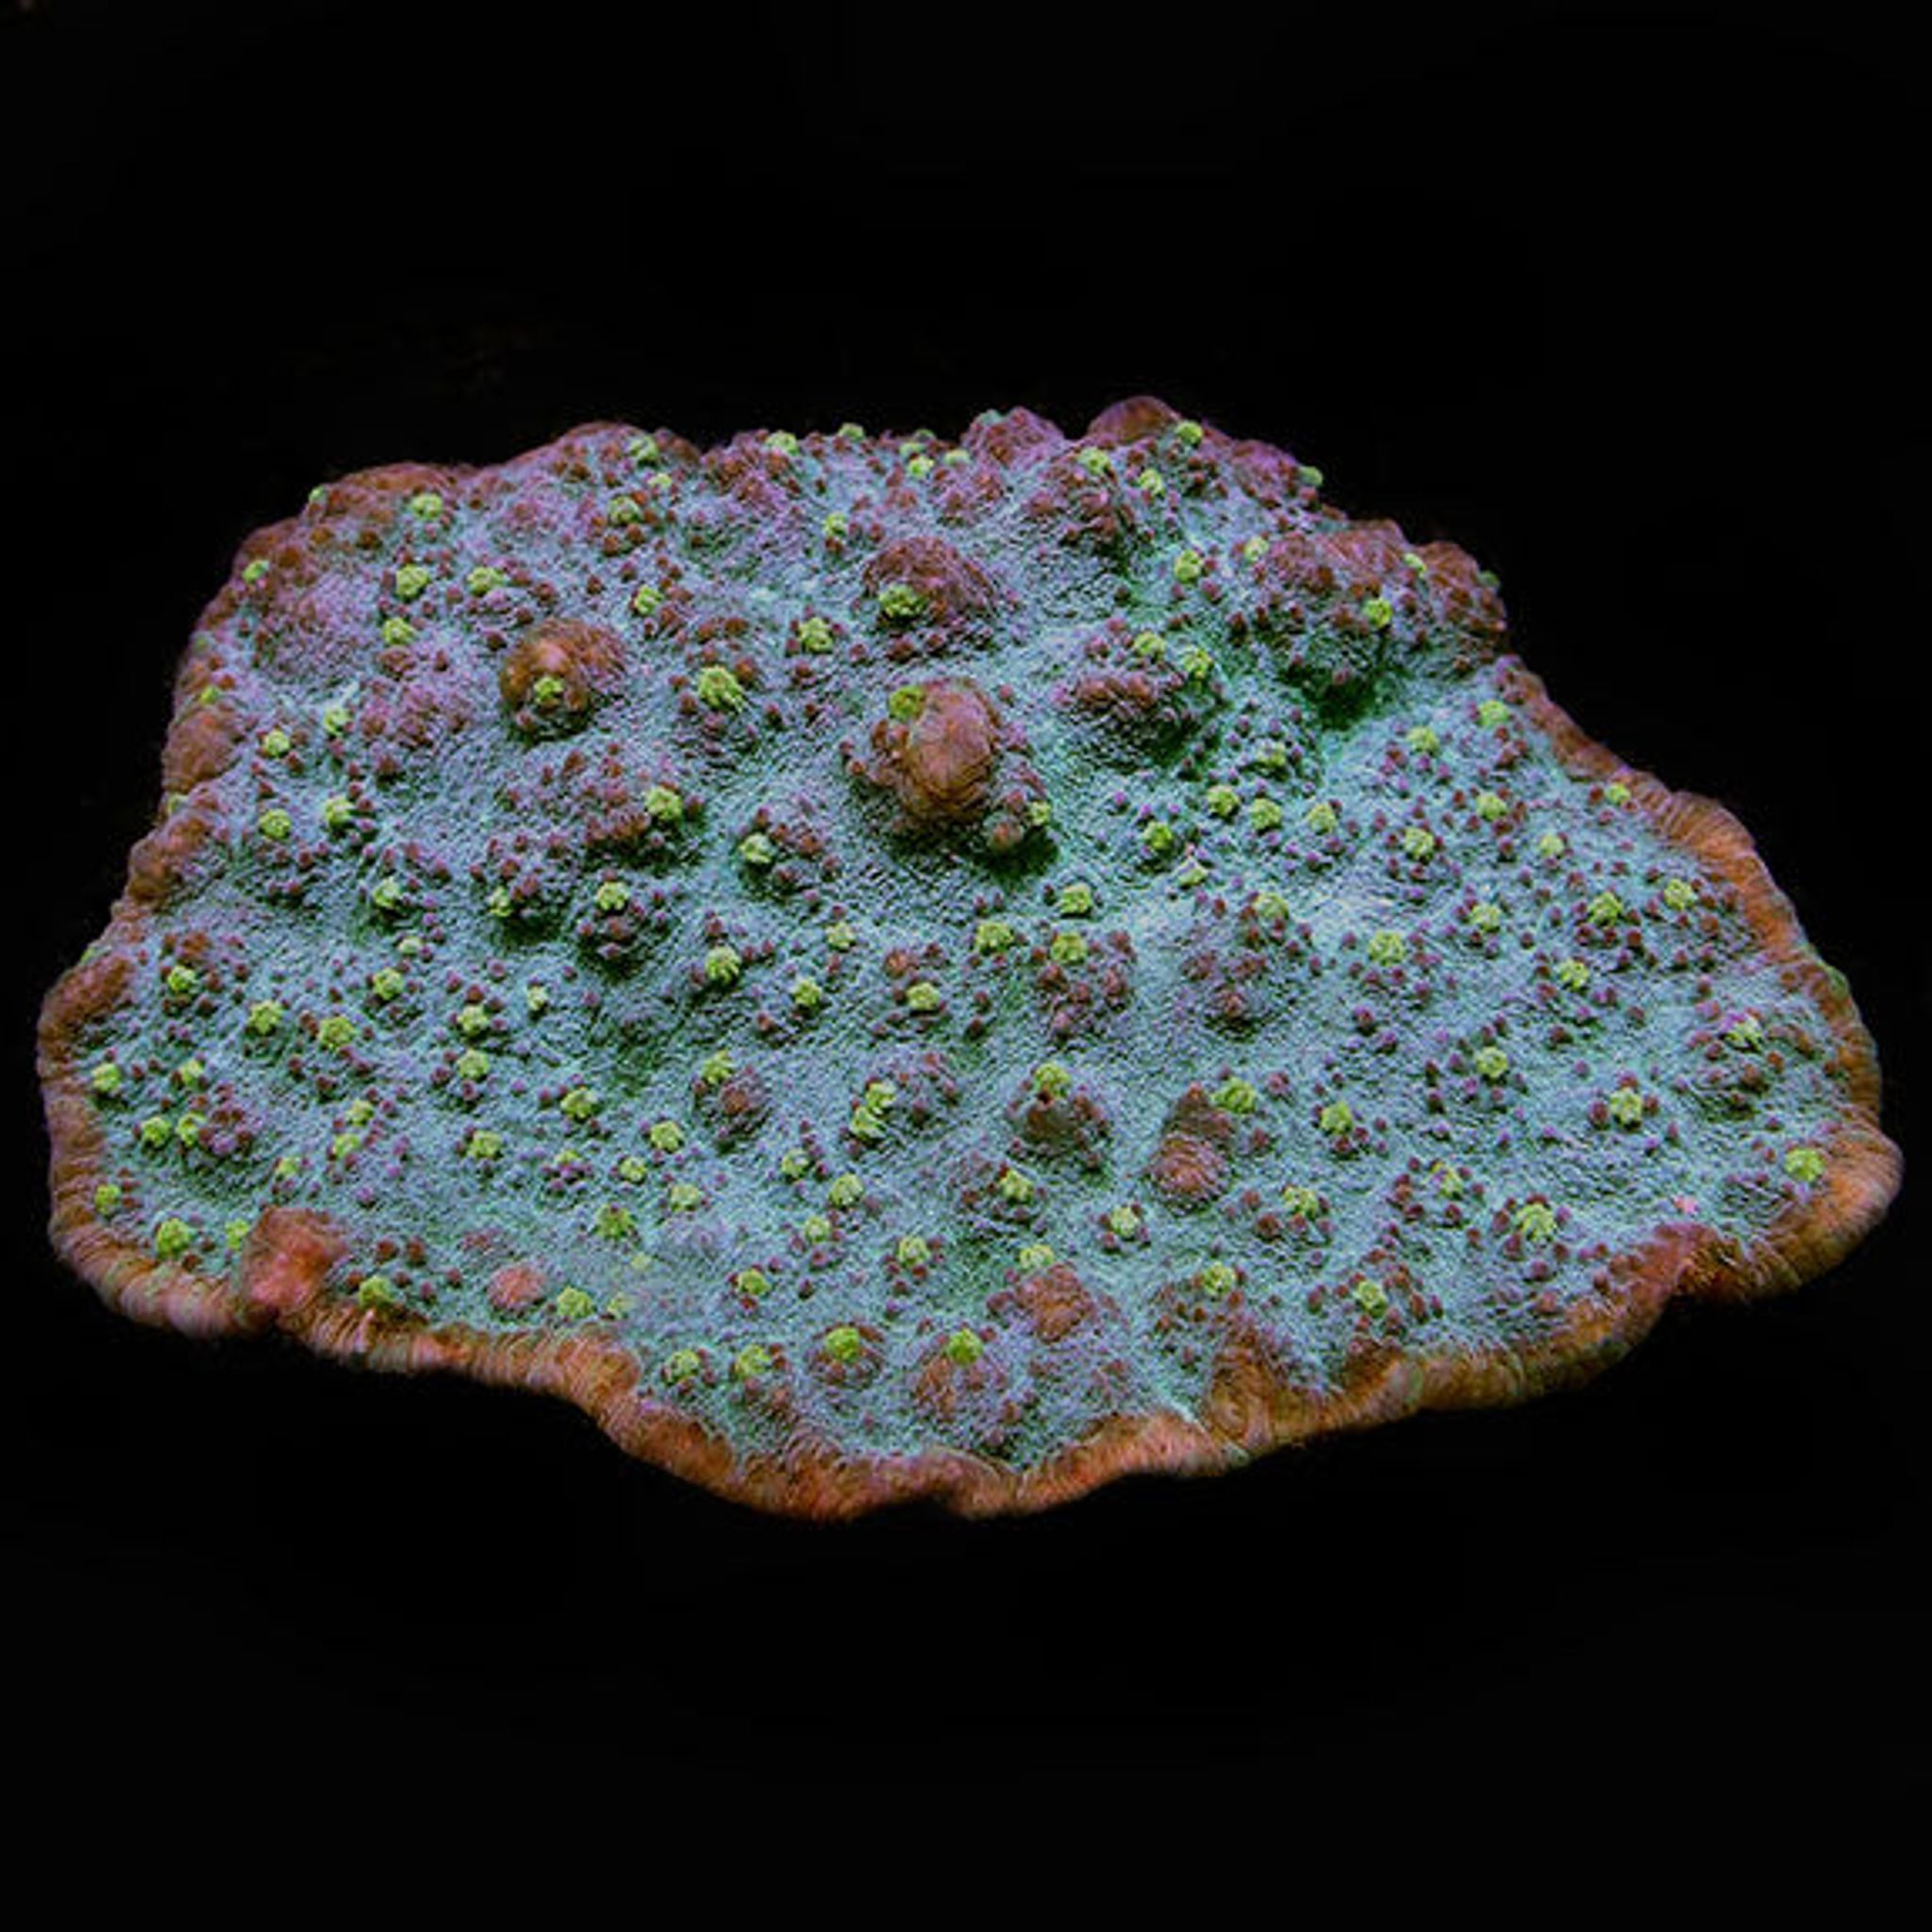
Common Chalice Coral Problems: Tissue Loss, Fading, Pests and Recovery
A chalice coral that suddenly looks pale, is missing polyps, or is melting from the edges needs a fast, correct diagnosis — not guesswork. This guide walks through the most likely causes in order, gives clear parameter and lighting targets, and shows exactly how to stop the damage and help the colony recover.
What Is a Chalice Coral, Exactly?
"Chalice" is a hobby nickname, not a single species. It covers several flat, plating or encrusting large-polyp stony (LPS) coral genera, most commonly:
- Echinophyllia
- Mycedium
- Oxypora
Some sellers also apply the name loosely to Pectinia, Homophyllia, or Australophyllia, though these behave differently. True chalices grow as a thin skeletal "cup" or plate covered in fleshy polyp tissue, which is exactly why they're more vulnerable to flow damage, light burn, and physical injury than thicker-bodied LPS like hammers or torches — there's less tissue reserve to fall back on.
Diagnosing the Problem: A Step-by-Step Workflow
Most keepers jump straight to guessing a disease. Work through this order instead — it catches the real cause faster:
- Test the water first. Check temperature, salinity, alkalinity, calcium, magnesium, nitrate, and phosphate. Rule out a swing before anything else.
- Check placement and neighbors. Is the chalice within stinging or chemical range of another coral?
- Inspect closely for pests. Use a flashlight at night when polyps and pests are most active.
- Review lighting and flow. Is it too bright, too dark, too direct, or too still?
- Only then consider infection or disease as a secondary result of one of the above.
Ideal Chalice Coral Parameters
Chalices are more forgiving of nutrients than SPS corals and often color up better with a bit of nitrate and phosphate present. Chasing a zero-nutrient system is a common mistake that causes fading, not health.
| Parameter | Target Range | Notes |
|---|---|---|
| Temperature | 76–80°F (24–27°C) | Stability matters more than the exact number |
| Salinity | 1.024–1.026 SG | |
| pH | 7.8–8.4 | |
| Alkalinity | 7–11 dKH | Avoid swings larger than 1 dKH/day |
| Calcium | 380–450 ppm | |
| Magnesium | 1250–1350 ppm | |
| Nitrate | 2–10 ppm | Chalices often fade below this range |
| Phosphate | 0.03–0.1 ppm | |
| Light (PAR) | 50–150 PAR | Start low, increase gradually |
| Flow | Low to medium, indirect | Enough to prevent detritus film |
Lighting and Acclimation
Chalices are among the more light-sensitive LPS corals in the hobby, and bleaching from overly bright lighting is one of the most common problems keepers cause themselves.
The classic mistake: buying a frag that was grown under moderate retail lighting, then placing it directly under strong SPS-level LEDs at home. Bleaching can show up within days.
How to acclimate correctly:
- Place the coral low on the rockwork or in a shaded spot to start.
- Begin lighting at reduced intensity and a shorter photoperiod.
- Increase intensity gradually over 2–4 weeks, watching polyp extension and color at each step.
- If PAR readings aren't available, judge by behavior: full polyp extension and steady or improving color mean the light level is fine; retraction, paling, or a dull, washed-out look means back off.
Sources disagree on exact PAR ceilings — some cap chalices around 100 PAR, others report success up to 150–200 PAR under strong fixtures. The safest approach is to start at 50–80 PAR and only raise it if the coral shows zero signs of stress after two weeks. A PAR meter takes the guesswork out of this step if you're running multiple LPS and SPS corals under the same light.
Flow: Getting It Right
Flow problems cut both ways with chalices:
- Too much direct flow folds and deforms the fleshy tissue, causes recession from the flow source, and prevents polyps from extending.
- Too little flow lets detritus and film algae settle directly on the flat tissue surface, causing localized necrosis under the debris.
The middle ground most experienced keepers land on: indirect, turbulent flow that's strong enough to keep the coral's surface debris-free but never strong enough to physically deform the polyps. Avoid pointing a powerhead directly at a new frag "to prevent algae" — that alone is enough to trigger tissue recession within days.
Coral Allelopathy and Spacing
Chemical warfare between corals — called allelopathy — is the single most misdiagnosed cause of chalice tissue loss. Chalices both release potent chemical toxins and are vulnerable to toxins from neighbors, meaning damage can occur even without any physical contact.
Give a chalice generous space:
- Several inches minimum from any other coral.
- More distance from aggressive neighbors — long-sweeper LPS (torches, hammers, frogspawn), fast-growing SPS, and most soft corals.
- Account for growth: a chalice that's safely spaced today may reach a neighbor in six months.
If tissue recession keeps appearing on the side facing a specific coral, that's a strong clue the cause is chemical or sting-based rather than disease.
Identifying the Problem: RTN vs. STN vs. Bleaching vs. Pests
These four issues look similar at first glance but need different responses.
| Symptom | What You See | Speed | Likely Cause |
|---|---|---|---|
| Rapid Tissue Necrosis (RTN) | Tissue sloughs off, exposing white skeleton | Hours to 1 day | Severe stress (shipping, dips, parameter shock) or infection |
| Slow Tissue Necrosis (STN) | Tissue recedes gradually from an edge or base | Days to weeks | Chronic stress: wrong light, poor flow, unstable parameters, low-grade pests |
| Bleaching/Fading | Tissue turns pale or white but is still present and intact | Days to weeks | Too much light, too-low nutrients, or a parameter swing |
| Pest damage | Bite marks, missing polyp patches, visible worms or nudibranchs at night | Variable | Flatworms, occasional nudibranchs or snails |
Cosmetic fading versus true tissue loss is the distinction most readers miss when they panic. If the skeleton is still fully covered and just looks pale, the coral is alive and the fix is a lighting or nutrient adjustment. If bare white skeleton is visible, that's actual tissue loss and needs immediate action.
Pests to Watch For
Chalices attract fewer pests than SPS corals, but a few are worth checking for:
- Flatworms — general pest flatworms can colonize a colony's surface, blocking light and causing irritation; specialized Acropora-eating flatworms rarely target chalices.
- Nudibranchs — reported occasionally on chalices and other LPS, though less common than on soft corals.
- Snails — some anecdotal reports of small predatory snails nibbling chalice tissue.
- Bristleworms — almost always harmless scavengers. Don't blame a healthy-looking bristleworm for damage it didn't cause.
Nighttime flashlight inspection is the best early-detection tool: turn off display lighting, wait a few minutes, then check the coral's surface and edges with a flashlight when pests are most active and most visible against retracted polyps.
Brown Jelly Infection
Brown jelly disease shows up as a gelatinous brown or tan slime covering damaged tissue, and it spreads quickly. It's best understood as a secondary bacterial bloom on tissue that's already dying, not a primary disease on its own — something else damaged the tissue first (a bite, RTN, physical injury), and the jelly followed.
To treat it:
- During a water change, use a turkey baster or similar tool to siphon the jelly directly off the coral — don't just blow water at it, which can spread bacteria to healthy tissue or nearby corals.
- Move the coral to an isolated container or quarantine tank while treating.
- Identify and fix what caused the original damage, or the jelly can return.
Because it spreads through water contact and touch, isolate the affected coral immediately rather than treating it in the display.
Recovery Steps for a Struggling Chalice
- Isolate the coral in a frag or quarantine tank if disease or pests are suspected.
- Test and stabilize all parameters before doing anything else — a coral fighting a parameter swing won't recover while conditions keep shifting.
- Dip the coral using an iodine-based or commercial coral dip to address surface pests and bacteria.
- Frag away necrotic tissue if RTN is actively spreading (see below).
- Adjust flow slightly upward if detritus was the issue, but avoid blasting any exposed skeleton.
- Reduce light intensity temporarily while the coral recovers.
- Be patient. Chalices can re-encrust over bare skeleton and rebuild color over weeks to months once the underlying cause is corrected.
Fragging a Receding Chalice to Save It
When RTN is actively spreading, cutting away the dying section is often the only way to save the rest of the colony:
- Use a clean, sharp cutting tool (a coral saw, bone shears, or a fresh razor blade) reserved for this purpose.
- Sterilize the tool between cuts, especially if infection is suspected, to avoid spreading it to healthy tissue.
- Cut well into visibly healthy tissue — leave a clear border of normal-colored, fully extended polyp tissue around the cut, not right at the necrosis line.
- Because chalice tissue is soft and thin compared to branching SPS, cut cleanly in one pass rather than sawing, which can tear the fleshy tissue.
- Glue the healthy frag to a new plug or rock with coral-safe glue or epoxy, and discard or destroy the necrotic piece rather than keeping it in the same system.
Coral Dipping and Quarantine for New Frags
Quarantining and dipping every new chalice frag before it touches the display tank is the single most effective preventive step available. A new frag should sit in a separate quarantine tank for at least a couple of weeks, with a dip performed on arrival and again before final transfer, while you watch for hitchhiking pests and confirm the coral is stable under your lighting before committing it to a permanent spot near other corals. If you're stocking a new frag tank or building out your quarantine setup, browse LPS hard corals and dosing or dip supplies together so new arrivals go straight into a proper isolation routine rather than the display.
Common Mistakes to Avoid
- Placing a chalice under strong SPS lighting immediately after buying it, without any acclimation period.
- Setting a chalice too close to torches, hammers, or fast-growing SPS with long sweeper tentacles.
- Blasting a new frag with high flow "to prevent algae," which instead causes recession.
- Ignoring a small brown spot or nibble mark — untreated, it can progress to brown jelly and full colony loss within a day or two.
- Skipping the dip and quarantine step for new frags.
- Chasing zero nitrate and phosphate, which frequently causes fading and a weaker feeding response.
- Mistaking normal nighttime polyp retraction or a color shift after feeding for disease.
Frequently Asked Questions
Why is my chalice coral losing color/turning pale?
This is usually caused by too much light or too-low nutrients, and it can also be a stress response to a recent parameter swing. Check nitrate and phosphate levels and consider reducing PAR before assuming disease — if the skeleton isn't exposed, the coral is likely still alive.
Why is my chalice coral's tissue receding or melting?
Most often this comes from chemical warfare with a nearby coral, unstable water parameters, poor flow creating dead spots, or physical damage that led to infection. Check placement and test your water before treating it as a disease.
What is RTN and can it be stopped?
Rapid Tissue Necrosis is fast-spreading tissue death that can expose bare skeleton within hours to a day. Stop it by immediately fragging healthy tissue well away from the dying area and stabilizing water quality — waiting even a few hours can mean losing the whole colony.
Is brown jelly on my chalice contagious?
Yes, it can spread to the rest of the colony and to nearby corals through direct touch or water flow. Siphon it out promptly during a water change and isolate the coral while you address the underlying damage that caused it.
How do I acclimate a chalice to new lighting?
Start at reduced intensity and a shorter photoperiod, then increase gradually over 2–4 weeks. Watch for bleaching or excessive polyp retraction at each step, and hold or reduce the light if either appears.
What pests attack chalice corals?
Various flatworms and, less commonly, small nudibranchs or snails can affect chalice colonies. Regular dipping of new frags and a nighttime flashlight inspection routine catch most issues before they cause visible damage.
How much space does a chalice need from other corals?
Enough that tissue and sweeper tentacles never make contact — commonly several inches minimum, and considerably more from aggressive neighbors like long-tentacled LPS or fast-growing SPS. Always account for future growth when spacing frags.
Can a chalice recover after losing most of its tissue?
Yes, as long as healthy skeleton and some living tissue remain and the underlying cause has been corrected. Re-encrusting and color recovery can take anywhere from several weeks to a few months.
Browse healthy, quarantine-ready frags in LPS hard corals on FishyHub to start or expand your chalice collection with confidence.

