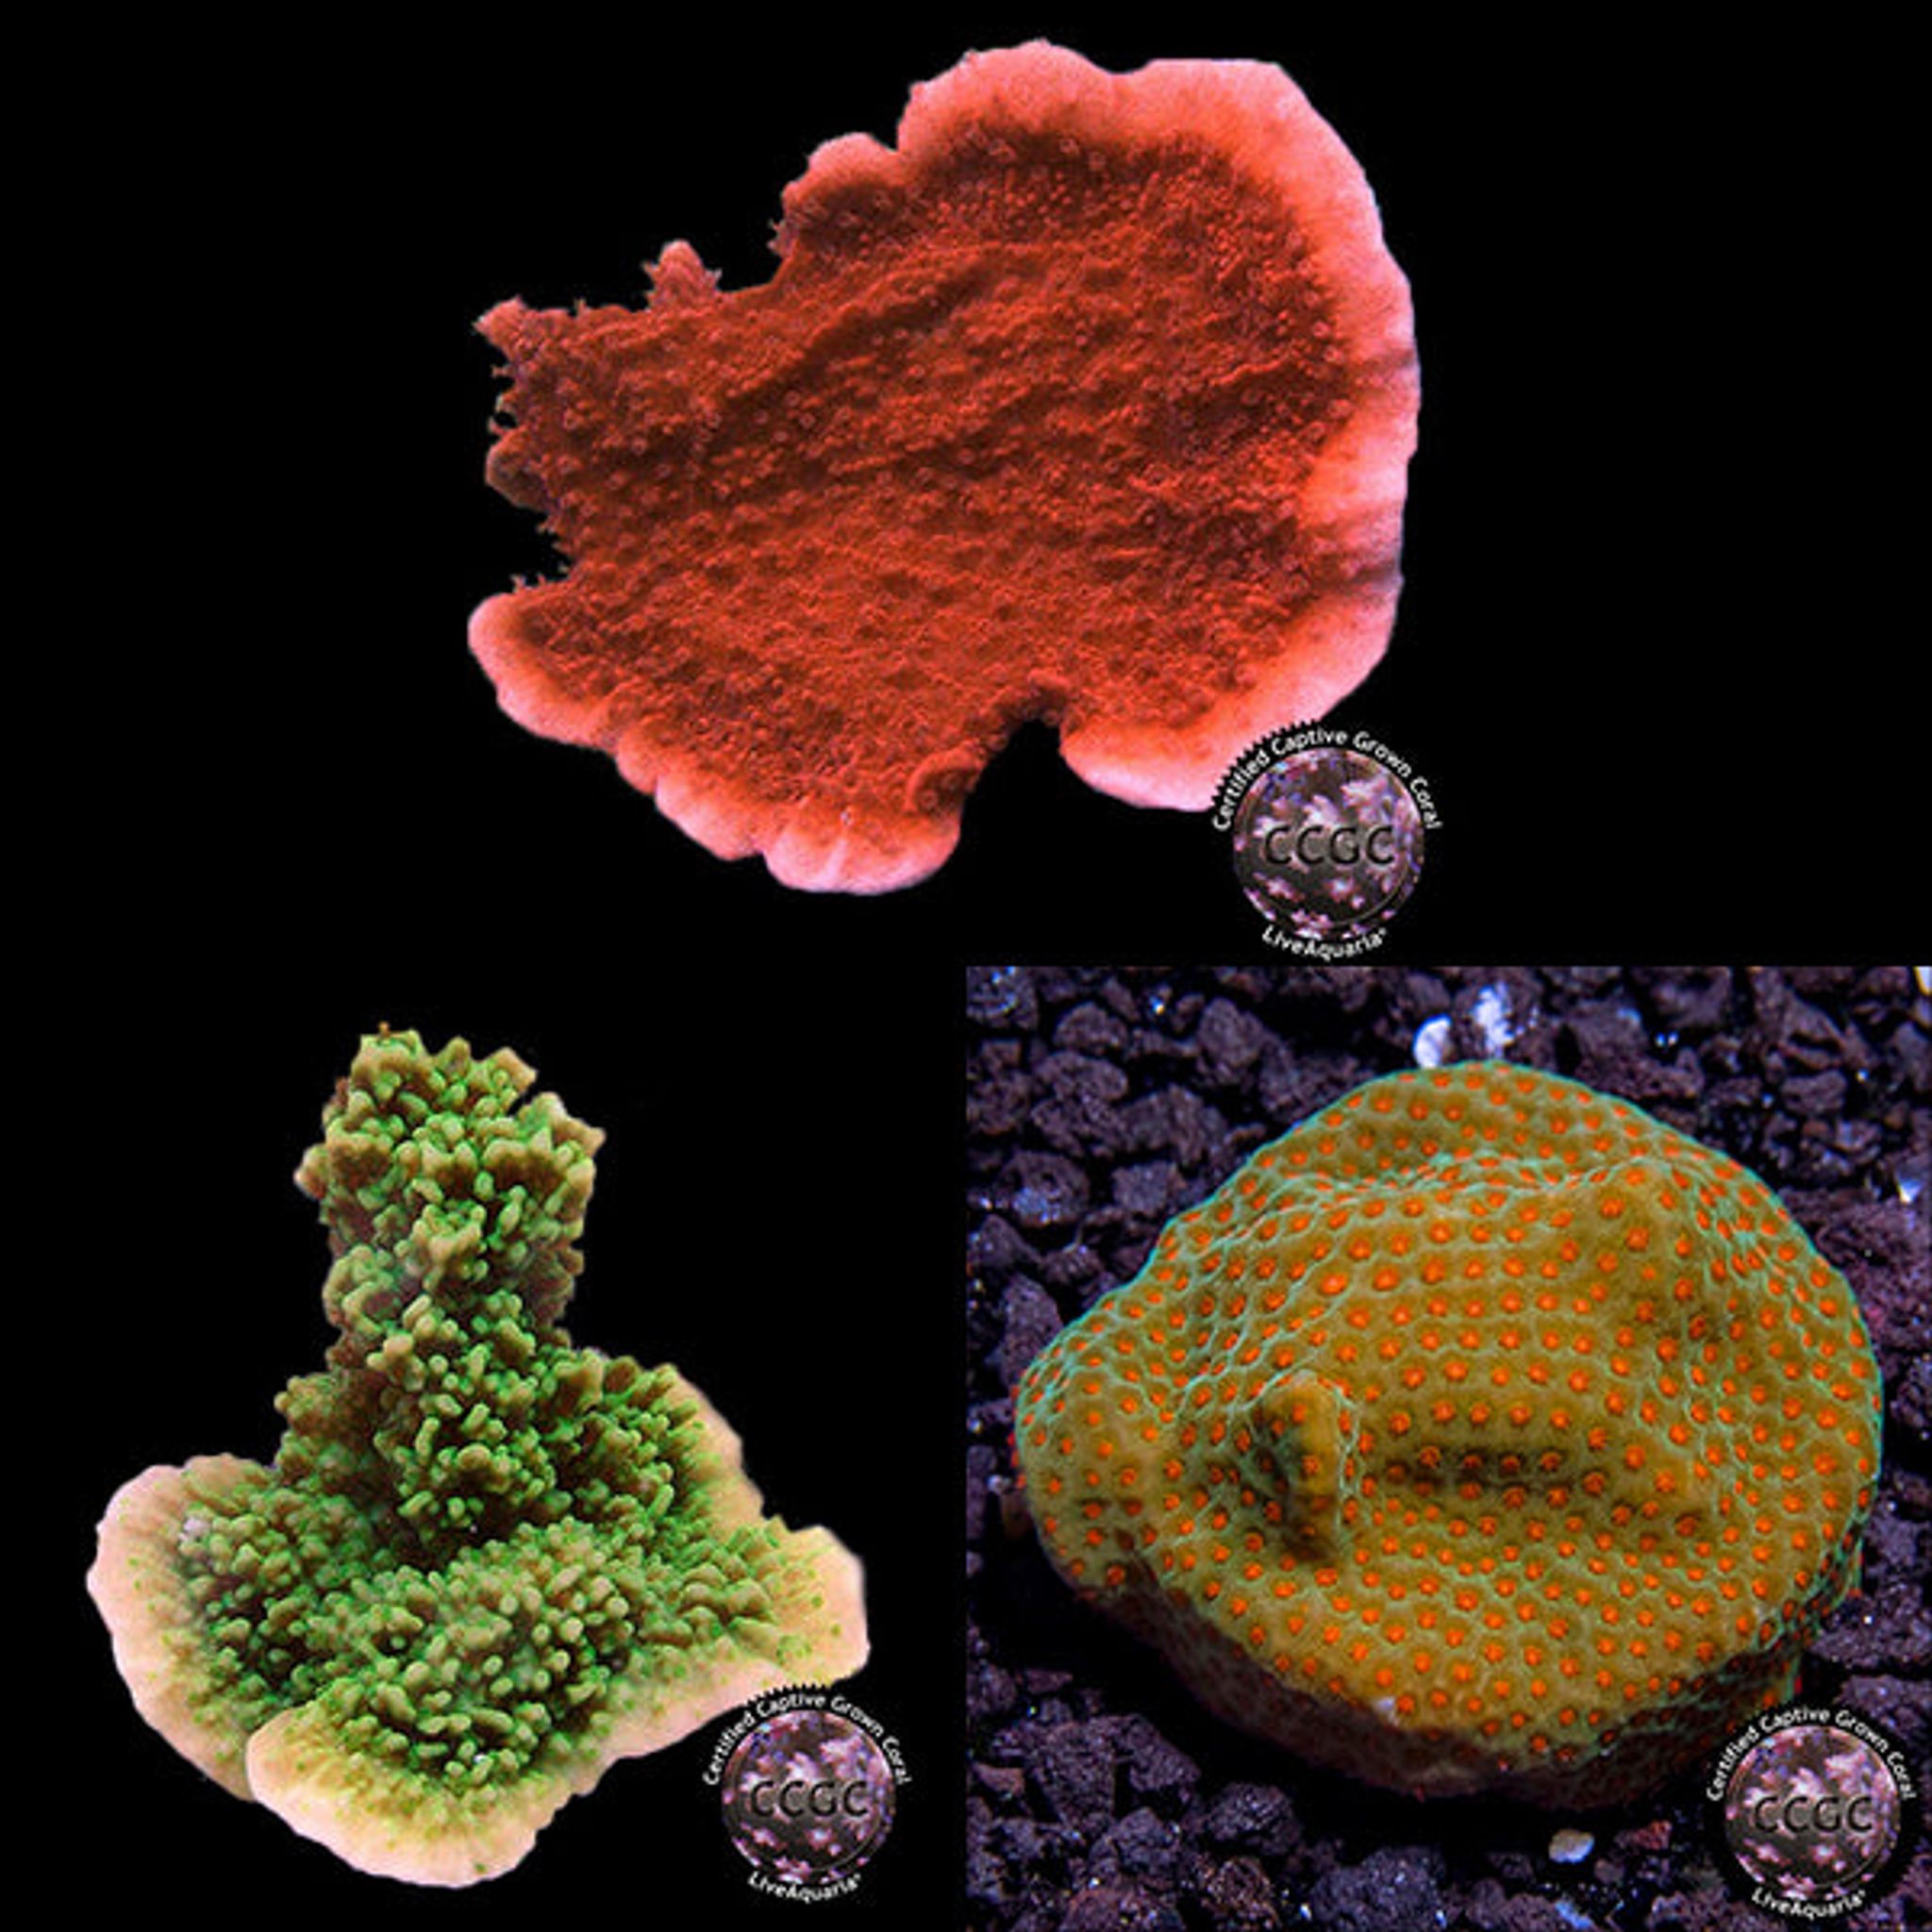
Best Placement for Montipora: PAR, Flow and Space Requirements
Montipora placement comes down to matching light and flow to growth form, then leaving room for the colony it will become. This guide breaks placement down by encrusting, plating and branching Montipora, gives a working PAR and flow chart, and covers the spacing math and troubleshooting signs most placement guides skip.
Why Montipora Placement Isn't One-Size-Fits-All
The genus Montipora covers several very different growth forms, and treating them all the same is the most common placement mistake:
- Encrusting/plating forms spread flat across rock or sand and tolerate lower, gentler light and flow that washes over the surface rather than blasting it.
- Digitate/branching forms grow upright fingers or clusters and want more light intensity and more flow to keep every branch surface clean and fed.
Because of this split, a single "moderate light, moderate flow" rule undersells branching Montipora and overexposes plating varieties. Placement should start with growth form, then get refined with PAR and flow specifics.
PAR Requirements by Growth Form
Montipora generally does well across a 100–250 PAR band, without needing the intensity that small-polyp Acropora demands. High-color or heavily pigmented morphs are sometimes pushed toward 200–300 PAR once fully acclimated, but most colonies color up well within the mid-range.
Exact numbers vary by source, fixture, and how PAR is measured, so treat any specific figure as a starting point rather than a target to hit exactly. Watching the coral's polyp extension and color over one to two weeks tells you more than chasing a precise reading.
Placement and Flow Chart by Growth Form
| Growth form | Target PAR | Flow style | Typical tank position |
|---|---|---|---|
| Encrusting/plating | 100–180 | Gentle, indirect wash | Lower tank, rock base or sand-level rockwork |
| Branching/digitate | 150–250 (up to ~300 for high-color morphs) | Strong, indirect/turbulent | Mid-tank on elevated rockwork |
| Mixed colonies | 100–250 | Turbulent, alternating | Reassess per colony as it grows |
Flow: Why "Indirect and Turbulent" Beats a Direct Blast
Every Montipora form benefits from flow, but the type of flow matters more than raw power. A single direct, laminar jet aimed at a colony creates a hot spot that can tear tissue and push growth away from the stream instead of encouraging even encrusting. Turbulent, alternating current instead:
- Delivers food and dissolved nutrients evenly across the coral's surface
- Prevents detritus from settling on flat plating surfaces, which otherwise causes tissue irritation or algae film
- Reduces one-directional stress that leads to lopsided or stunted growth
Powerhead placement principle: aim flow so two or more streams interact and create turbulence across the tank, rather than pointing pumps directly at each other or at a single coral. Avoid leaving corners or areas under overhangs with no circulation at all — these dead spots are where detritus and irritation problems start.
Wavemakers and Pump Types
Different pump styles create different flow patterns, and picking the right one matters as much as sizing it correctly:
- Propeller/gyre pumps produce a broad, laminar sheet of movement good for even, tank-wide circulation.
- Standard powerheads produce a more directed, cone-shaped stream best used at an angle rather than pointed straight at coral.
- Alternating/pulsing controllers cycle multiple pumps to mimic natural reef turbulence and cut down on dead spots and tissue stress from one fixed direction.
A controllable, alternating setup across a couple of pumps generally suits Montipora better than one fixed, high-output jet. You can browse wavemakers and powerheads alongside other reef equipment when planning a new setup.
How Much Total Flow Does a Reef Tank Need?
This is where guidance often gets confused, because two different numbers get cited for two different jobs:
- Basic aquarium-pump guidance (often used for fish-only setups) suggests roughly 4–5x tank volume turnover per hour through the return pump alone.
- Reef tanks with coral, Montipora included, need substantially more: a combined total (return pump plus powerheads/wavemakers) of roughly 20–50x turnover per hour, with the higher end reserved for SPS-dominated systems.
Treat the 4–5x figure as a return-pump-only baseline for basic filtration, not a coral-tank target. The real number that matters is total in-tank flow from every pump combined.
Sizing the Return Pump
Pick a return pump rated above your calculated flow target at zero head, since real-world output drops once you account for head height, plumbing bends, and fittings. Oversizing the pump and dialing it back with a valve or controller is safer than undersizing and hoping it's enough — a pump's rated GPH on the box is rarely what reaches the display.
Acclimating New Frags Before Final Placement
Acclimation matters more than hitting an exact PAR number. New frags should start in a lower, shadier spot with gentler flow for one to two weeks, then move up gradually while watching polyp extension and color. Skipping this step and placing a new frag straight into full display lighting and flow is one of the fastest ways to cause bleaching or tissue recession within days.
A practical visual test, useful for hobbyists without a PAR meter: healthy polyp extension and stable or improving color over the acclimation window mean the frag is ready to move toward its target spot. Retreating color or shrinking polyps means back off and hold at the current level longer.
Reassessment doesn't stop after acclimation. A colony placed correctly at 2 inches (5 cm) below the light may need repositioning once it grows to 8 inches (20 cm) closer to the fixture — placement is an ongoing check, not a one-time decision.
Space and Growth: Planning for What the Colony Becomes
Montipora, especially encrusting types, spreads fast and will overgrow neighboring corals if given the chance. When planning placement:
- Leave several inches to a foot or more of buffer around a colony depending on species and tank size
- Budget for periodic trimming or fragging to keep growth from crowding neighbors
- For multiple frags on a rack or in a display, leave a few inches minimum between pieces so mature colonies don't fuse or sting each other, increasing the gap further for fast-spreading encrusting varieties
Bridging Frag-Rack Spacing to Display Spacing
Spacing rules learned on a frag rack don't automatically scale to a display tank. A grow-out rack can pack frags a few inches apart because pieces get moved or trimmed frequently. In a permanent aquascape position, plan spacing for the colony's mature footprint, not its current frag size, since repositioning a fused colony later isn't practical.
Compatibility with Other Corals
Montipora is relatively passive and has minimal defenses of its own, so placement should keep it away from more aggressive neighbors — certain LPS species and soft corals with sweeper tentacles can sting and damage its tissue. It coexists fine with other peaceful SPS and soft corals given adequate spacing.
Building an Aquascape That Supports Good Placement
The rockwork itself determines how many usable light and flow zones you have. Building from inert dry (base) rock rather than wild live rock avoids introducing pests and hitchhikers; gluing smaller pieces into an open, ledge-heavy structure with epoxy or reef-safe adhesive creates the varied zones Montipora placement depends on. Let the aquascape fully cycle before adding coral.
A more open "floating" aquascape — rock that appears to hover with a minimal sand footprint — maximizes flow underneath and around the structure and adds usable rock face at varied heights, which is useful for spreading Montipora colonies across different light and flow zones without crowding them together.
Frag Tanks for Grow-Out
A shallow, long tank — roughly 20–33 gallons (75–125 L) with a 12-inch (30 cm) footprint depth — is popular for frag and grow-out setups. The shallow depth makes it easier to hit adequate PAR across the whole footprint with standard reef lighting. Keep new frags near the bottom of a frag tank until acclimated, then move them up as they show healthy extension.
Supporting Equipment That Affects Placement Success
Placement decisions only hold up if the equipment behind them is reliable.
Sump and Overflow Basics
A sump below or behind the display adds equipment space and water volume. Water reaches it through a drilled overflow or a hang-on overflow box, and the sump's return pump is one component of total tank turnover — size it with head height and plumbing losses in mind, the same way you would any return pump.
Quiet overflow tip: most overflow noise comes from air being pulled into the standpipe. A properly sized standpipe, a full siphon, and correct water level in the overflow box — fine-tuned with a gate valve — keep it quiet.
Water Chemistry for Calcification
Calcium, alkalinity, and magnesium dosing (two-part or three-part) supports the calcification Montipora needs to build its skeleton. Mix and dose components separately — never combine concentrated calcium and alkalinity solutions directly — dose into a high-flow area for even distribution, and limit daily parameter swings, since sudden chemistry changes stress coral regardless of correct light and flow placement.
Skimming and Routine Equipment Checks
Protein skimming supports the stable water quality that placement advice assumes. Skimmer sizing generally follows tank volume and bioload: larger air-cooled skimmers suit heavily stocked SPS systems, while compact units suit nano and pico reef tanks. Skimmer overflow is usually caused by overfeeding, bioload spikes, or a dirty collection cup — controlling water level with the skimmer's gate valve and cleaning the neck and cup regularly prevents boil-over.
A routine equipment-check schedule — inspecting pump impellers, cleaning sensors and probes, clearing filter socks or media, and verifying check valves on return lines — prevents the flow loss or overflow failures that would otherwise undo correct coral placement.
Common Mistakes and Troubleshooting
| Symptom or mistake | Likely cause | Fix |
|---|---|---|
| Bleaching or tissue recession within days | New frag placed straight into full display light/flow | Restart acclimation lower and gentler, raise gradually |
| Tissue tearing or lopsided growth | Single powerhead aimed directly at the colony | Redirect flow to create turbulence, not a direct jet |
| Neighbors being overgrown or stung | Colonies under-spaced for mature size | Increase spacing, trim/frag proactively |
| Pale or bleached coloration | Too much light without enough flow, or placed too high | Move down slightly or increase indirect flow |
| Browning or dull color | Too little light or flow for current spot | Move up slightly or add turbulent flow |
| Detritus or algae film on flat surfaces | Dead spot with no circulation | Reposition powerheads to eliminate corners with no flow |
| Whole tank feels under-circulated despite pump's rated GPH | Pump undersized for head height and plumbing losses | Size pump above target flow at zero head, add powerheads |
Frequently Asked Questions
What PAR level does Montipora need?
Roughly 100–250 PAR depending on growth form and desired coloration, with high-color morphs sometimes pushed toward 300 once fully acclimated. Start lower and raise gradually while watching color and polyp extension.
Does Montipora need high flow like Acropora?
It benefits from good indirect, turbulent flow, but not the same intensity Acropora typically wants. Plating and encrusting forms tolerate gentler current, while branching and digitate forms are more flow-dependent.
Where should I place a Montipora frag to start?
Lower-to-mid tank in moderate, indirect flow for the first one to two weeks. Move it toward its target spot once it shows healthy polyp extension and stable color.
How much space should I leave between Montipora colonies?
Enough that mature growth won't fuse or overlap — several inches minimum, more for fast-spreading encrusting types. Reassess spacing as colonies grow rather than treating initial placement as final.
Why is my Montipora losing color or turning brown?
Browning usually points to too little light or flow for the current placement. Bleaching or turning pale usually means too much light without enough flow to compensate.
Can Montipora be kept near other corals?
Yes, since Montipora itself is relatively passive with minimal defenses. Keep it away from aggressive or sweeper-tentacle species, including some LPS and certain soft corals, that can sting and damage its tissue.
How do I know if my flow is strong enough?
Total in-tank flow — return pump plus powerheads and wavemakers combined — should be notably higher than basic whole-tank turnover guidance meant for fish-only setups. Visible, gentle turbulence with no obvious dead spots is a practical real-world test.
Do I need a wavemaker, or is a return pump enough?
A return pump alone rarely creates the turbulent, alternating flow coral needs. A wavemaker or powerhead supplementing the return is standard for reef tanks housing SPS and LPS like Montipora.
Getting Montipora placement right is mostly about matching growth form to light and flow zones, then giving the colony room to grow into. You can browse SPS corals and reef lighting on FishyHub to plan a setup around the placement approach that fits your tank.

