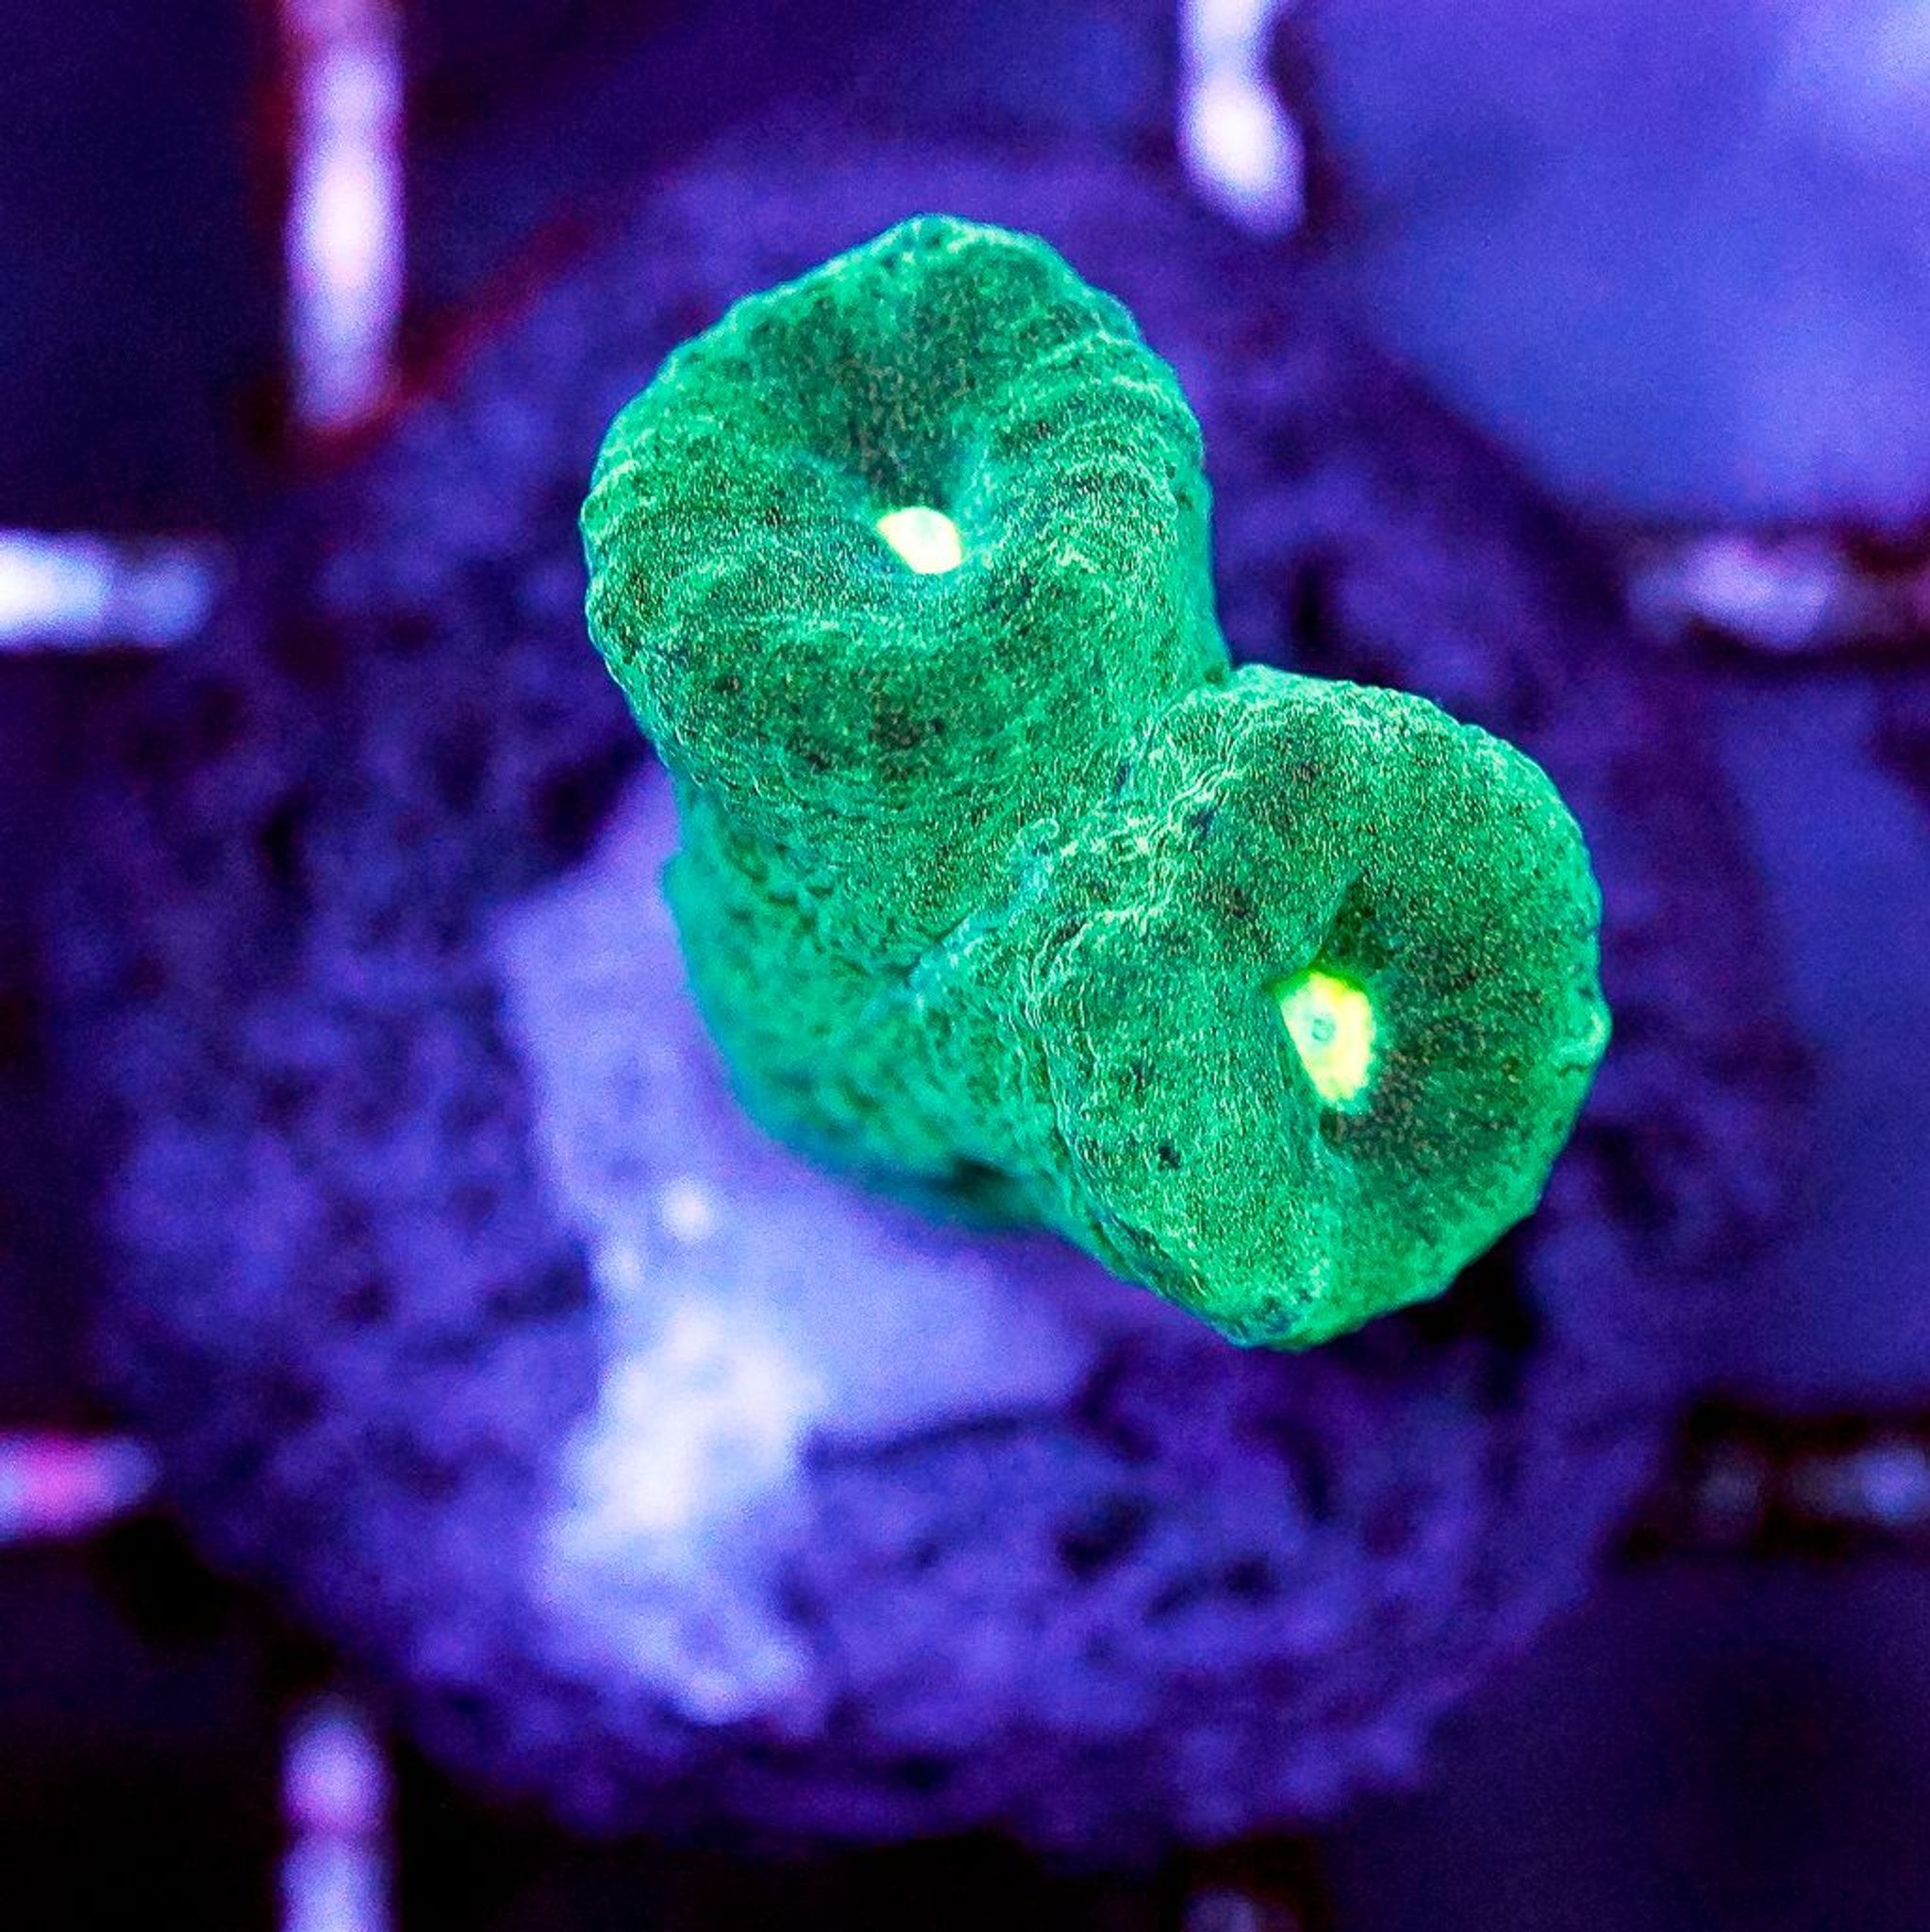
Best Placement for Candy Cane Coral: PAR, Flow and Space Requirements
Candy cane coral (Caulastrea spp., also sold as trumpet coral) is one of the more forgiving large-polyp stony corals, but "forgiving" doesn't mean "anywhere." Getting the light, flow and spacing right the first time saves you a stressful relocation later. Below are the specific PAR numbers, flow cues and inch measurements to plan around.
What Candy Cane Coral Is and Why Placement Matters
Candy cane coral is a large-polyp stony (LPS) coral with a hard calcium-carbonate skeleton that grows in clusters of tube-shaped corallites, each tipped with a fleshy polyp. Because it's marketed as a beginner LPS, many keepers assume it tolerates any spot in the tank. It doesn't fail outright in the wrong location, but it will underperform: bleaching under too much light, deflating in strong current, or receding when water quality slips near a dead spot.
Good placement means balancing three variables at once:
- Light — enough PAR to sustain zooxanthellae without overdriving them.
- Flow — enough movement to keep the tissue clean without physically damaging it.
- Spacing/competition — enough room that neighboring corals don't sting it, and it doesn't sting them once it grows.
Miss any one of the three and the colony survives without thriving — that's the core aquascaping principle behind everything in this guide.
Ideal PAR Range for Candy Cane Coral
Candy cane coral is comfortable across a wide PAR window, which is exactly why it works for low-tech and nano setups:
| PAR Range | Result |
|---|---|
| 50–70 PAR | Tolerated comfortably; slower growth, muted color |
| 75–150 PAR | Sweet spot for most colonies — steady growth, good color |
| 150+ PAR | Possible with slow acclimation only; unnecessary and raises bleaching risk |
There's some disagreement among reef keepers about the ceiling — some cap it firmly at 150 PAR, others report success pushing higher with a well-acclimated colony. The practical takeaway: treat 50–150 PAR as the safe, no-fuss range. There's no benefit to chasing higher light with this species, and the risk of pale or bleached tissue goes up the closer you get to the light source without a gradual transition.
Because candy cane coral tolerates the lower end of that range so well, it's a solid pick for the lower to middle two-thirds of the display, including spots shaded by rock overhangs or taller coral colonies, and it works fine in nano tanks where high-output lighting is harder to dial back.
Flow Requirements: Reading the Polyps
Candy cane coral wants low to moderate, indirect flow — the kind of general water movement that makes surrounding soft tissue sway gently, not a directed jet from a powerhead or return nozzle. One outlying source claims the coral can handle strong flow and bright light, but that's not the majority position, and it doesn't match the coral's natural habitat on lagoon floors and reef slopes where current is diffuse. A mature, well-acclimated colony may tolerate more flow than a fresh frag, but let the polyps — not the pump — tell you when you've gone too far.
How to read it:
- Correct flow — polyps stay puffy and fully extended most of the day.
- Too much flow — polyps stay flattened or deflated, and prolonged exposure can tear tissue.
- Too little flow — detritus and film settle on exposed flesh, raising the risk of infection.
Translating "Low to Moderate" Into Pump Settings
Most care sheets stop at qualitative language, which isn't much help when you're staring at a controller app. As a starting point for common tank sizes:
| Tank Size | Suggested Wavemaker/Powerhead Output | Placement Note |
|---|---|---|
| Nano (10–20 gal / 38–76 L) | Roughly 10–20% pump output, or general circulation only | Keep the colony well outside the direct discharge cone |
| Medium (40–75 gal / 151–284 L) | Roughly 15–25% output on a randomized or pulsing mode | Place along a side wall or behind rockwork, not in the main gyre |
| Large (100+ gal / 379+ L) | Roughly 10–20% output relative to total pump capacity | Multiple smaller pumps on alternating cycles beat one strong jet |
These are starting percentages, not fixed rules — actual GPH varies by pump model and tank shape. Adjust based on polyp behavior over the first few days in a new spot, and treat any percentage as a starting point, not a target.
Where to Physically Mount the Frag
Unlike SPS corals that often get perched high on rockwork to chase light, candy cane coral does best set lower and more sheltered:
- Mount on a flat rock ledge, in a shallow bowl-shaped depression, or directly on the sandbed with a small support underneath the base.
- Build simple, flat ledges into the rockscape before placing corals, rather than retrofitting mounting points into an already-complex structure — flat, stable surfaces are much easier to work with than trying to wedge a frag plug into a gap.
- Vary rock heights across the tank: taller LPS and branching corals toward the back or on pedestals, low mounding corals like candy cane toward the front or lower rockwork, so light and sightlines both work.
Spacing and Aggression: How Much Room to Leave
Candy cane coral's aggression gets described inconsistently — some call it essentially harmless, others warn about stinging sweeper tentacles. Both are partly right. It has short sweeper tentacles, roughly up to about 2 inches (5 cm), and it will sting on contact, but it's genuinely one of the milder LPS corals — nowhere near as aggressive as torch, hammer, or galaxea.
Practical spacing guidance:
- Leave 3–6 inches (7.5–15 cm) of clearance between a candy cane colony and other coral species.
- Lean toward the higher end of that range next to longer-tentacle, more aggressive LPS neighbors.
- You can place two candy cane colonies closer together than that, since members of the same species don't fight each other — colonies of the same genus can eventually fuse or grow side by side without conflict.
Planning for Growth, Not Just Frag Size
Candy cane coral expands by budding, meaning a single frag turns into a spreading cluster over months. Leave lateral room well beyond the current footprint of the frag — plan spacing for the mature colony size you expect in a year, not the size it ships at. A frag that looks comfortably spaced at 2 inches across can crowd a neighbor once it's 5–6 inches across, forcing a stressful mid-tank move.
Water Parameters That Support Good Placement
Placement only works if water chemistry backs it up — a coral sitting in the "right" spot can still stall or recede if parameters drift.
| Parameter | Target Range |
|---|---|
| pH | 8.1–8.4 |
| Salinity | 1.023–1.026 |
| Calcium | 400–450 ppm |
| Alkalinity | 7–12 dKH |
| Magnesium | 1,280–1,350 ppm |
Candy cane coral tolerates minor swings better than most LPS, which is part of why it's a common beginner recommendation. That said, test alkalinity more often than anything else — it's the parameter most likely to swing quickly, and it directly drives skeleton growth, so a crash can stall a colony that's otherwise perfectly placed.
Feeding to Support Growth and Color
Feeding isn't required for survival, but it noticeably improves growth rate and coloration. Target or spot feed 2–3 times per week, ideally at night or with return pumps briefly switched off so food doesn't blow away before the polyps can capture it. Small meaty foods work well:
- Mysis shrimp
- Brine shrimp
- Krill
- LPS-specific pellet foods
Amino acid dosing is an optional extra some keepers add on top of target feeding, but it's not necessary if feeding is already consistent.
Colorful, Compatible Coral Pairings
If you're planning a display around candy cane coral, it pairs well with other hardy, similarly low-to-moderate light and flow corals that won't out-compete or sting it:
- Zoanthids — an enormous range of neon colors and patterns, tolerant of the same PAR and flow window.
- Blastomussa — puffy, colorful polyps that respond well to the same target-feeding routine.
- Micromussa (sometimes sold as "Lord" corals) — compact, brightly colored, and similarly mild-mannered.
You can browse current stock of easygoing LPS options, including Caulastrea, in FishyHub's LPS hard corals selection, and pair them with soft corals that share similar placement needs if you want a mixed, low-conflict display.
Common Placement Mistakes
- Placing the frag too high or close to the light without acclimation, pushing it past ~150 PAR and causing pale or bleached tissue.
- Aiming a powerhead or return nozzle directly at the colony, causing chronic polyp deflation or tissue damage over time.
- Under-flowing a low, sheltered spot, letting detritus and film settle on exposed tissue — a common precursor to brown jelly infection.
- Crowding frags too close together as they grow, leading to stings once mature colonies expand into each other's space.
- Skipping acclimation when relocating a colony to a brighter or higher-flow spot after rearranging the aquascape.
- Not testing alkalinity often enough, letting it swing and stall growth or trigger tissue recession.
Diagnosing Symptoms Back to Their Cause
Most troubleshooting advice describes symptoms and fixes separately. It's more useful to work backward from what you're seeing to the specific placement variable responsible:
| Symptom | Likely Cause | Fix |
|---|---|---|
| Pale or bleached tips | Excess light (PAR too high, too close to fixture) | Move lower/farther from light; reintroduce gradually if returning |
| Polyps stay deflated/flattened | Direct or excessive flow | Relocate out of the pump's direct path; redirect flow to indirect |
| Tissue receding without other symptoms | Unstable alkalinity or other parameter swing | Test alkalinity, calcium, and magnesium; stabilize before touching placement |
| Slimy brown film or tissue sloughing (brown jelly) | Detritus buildup from insufficient flow, often combined with stress | Increase local flow slightly, dip the frag in iodine, isolate from other corals if spreading |
| Stinging or tissue damage on the side facing a neighbor | Spacing too tight for colony size | Re-space to 3–6 inches, more if the neighbor is an aggressive LPS |
Acclimating a New Frag
Because most frags arrive from a supplier's own lighting and flow setup — which you generally don't know the exact numbers for — treat every new candy cane frag as needing acclimation, even if it looks healthy out of the bag. Start it in a lower-PAR, lower-flow spot than you ultimately intend, and move it gradually over 1–2 weeks toward its target zone. Use polyp extension and color as your feedback signal rather than a fixed schedule — if polyps retract or color starts fading after a move, hold at the current spot longer before advancing. The same gradual approach applies any time you relocate an established colony to a brighter or higher-flow zone after an aquascape change.
Frequently Asked Questions
What is the ideal PAR for candy cane coral?
Roughly 50–150 PAR, with most colonies doing best around 75–150 PAR. It can be acclimated to higher light with a slow, multi-week transition, but that isn't necessary for healthy growth.
Where should I place candy cane coral in my tank?
In the lower to middle two-thirds of the display, mounted on a flat rock ledge or shallow depression, out of any direct high-flow path, and away from aggressive long-tentacle LPS corals.
How much flow does candy cane coral need?
Low to moderate, indirect flow — general tank circulation is usually enough. Polyps should stay puffy and extended; deflated polyps are the clearest sign flow is too strong for that spot.
How much space does candy cane coral need from other corals?
About 3–6 inches (7.5–15 cm) of clearance from other coral species, with more room next to aggressive LPS neighbors. Colonies of its own species can sit closer since they don't sting each other.
Is candy cane coral aggressive?
Mildly. It has short sweeper tentacles, up to about 2 inches, and will sting close neighbors on contact, but it's considerably less aggressive than torch, hammer, or galaxea coral.
Can candy cane coral go in a nano tank?
Yes. Its tolerance for lower PAR and gentler flow makes it a good fit for small and nano reef setups where high-output lighting and strong flow are harder to moderate.
Do I need to feed candy cane coral?
Not for survival, but 2–3 target feedings per week of small meaty foods like mysis or brine shrimp noticeably improve growth rate and coloration.
What causes candy cane coral to look deflated or recede?
Usually one of four things: excess flow, insufficient flow allowing detritus to build up, unstable alkalinity, or an early-stage brown jelly infection. Matching the symptom to the cause (see the diagnostic table above) points you to the right fix.
Ready to find a colony to place? Browse current frags and colonies in FishyHub's corals category and match one to the spot you've already mapped out for light, flow, and spacing.

