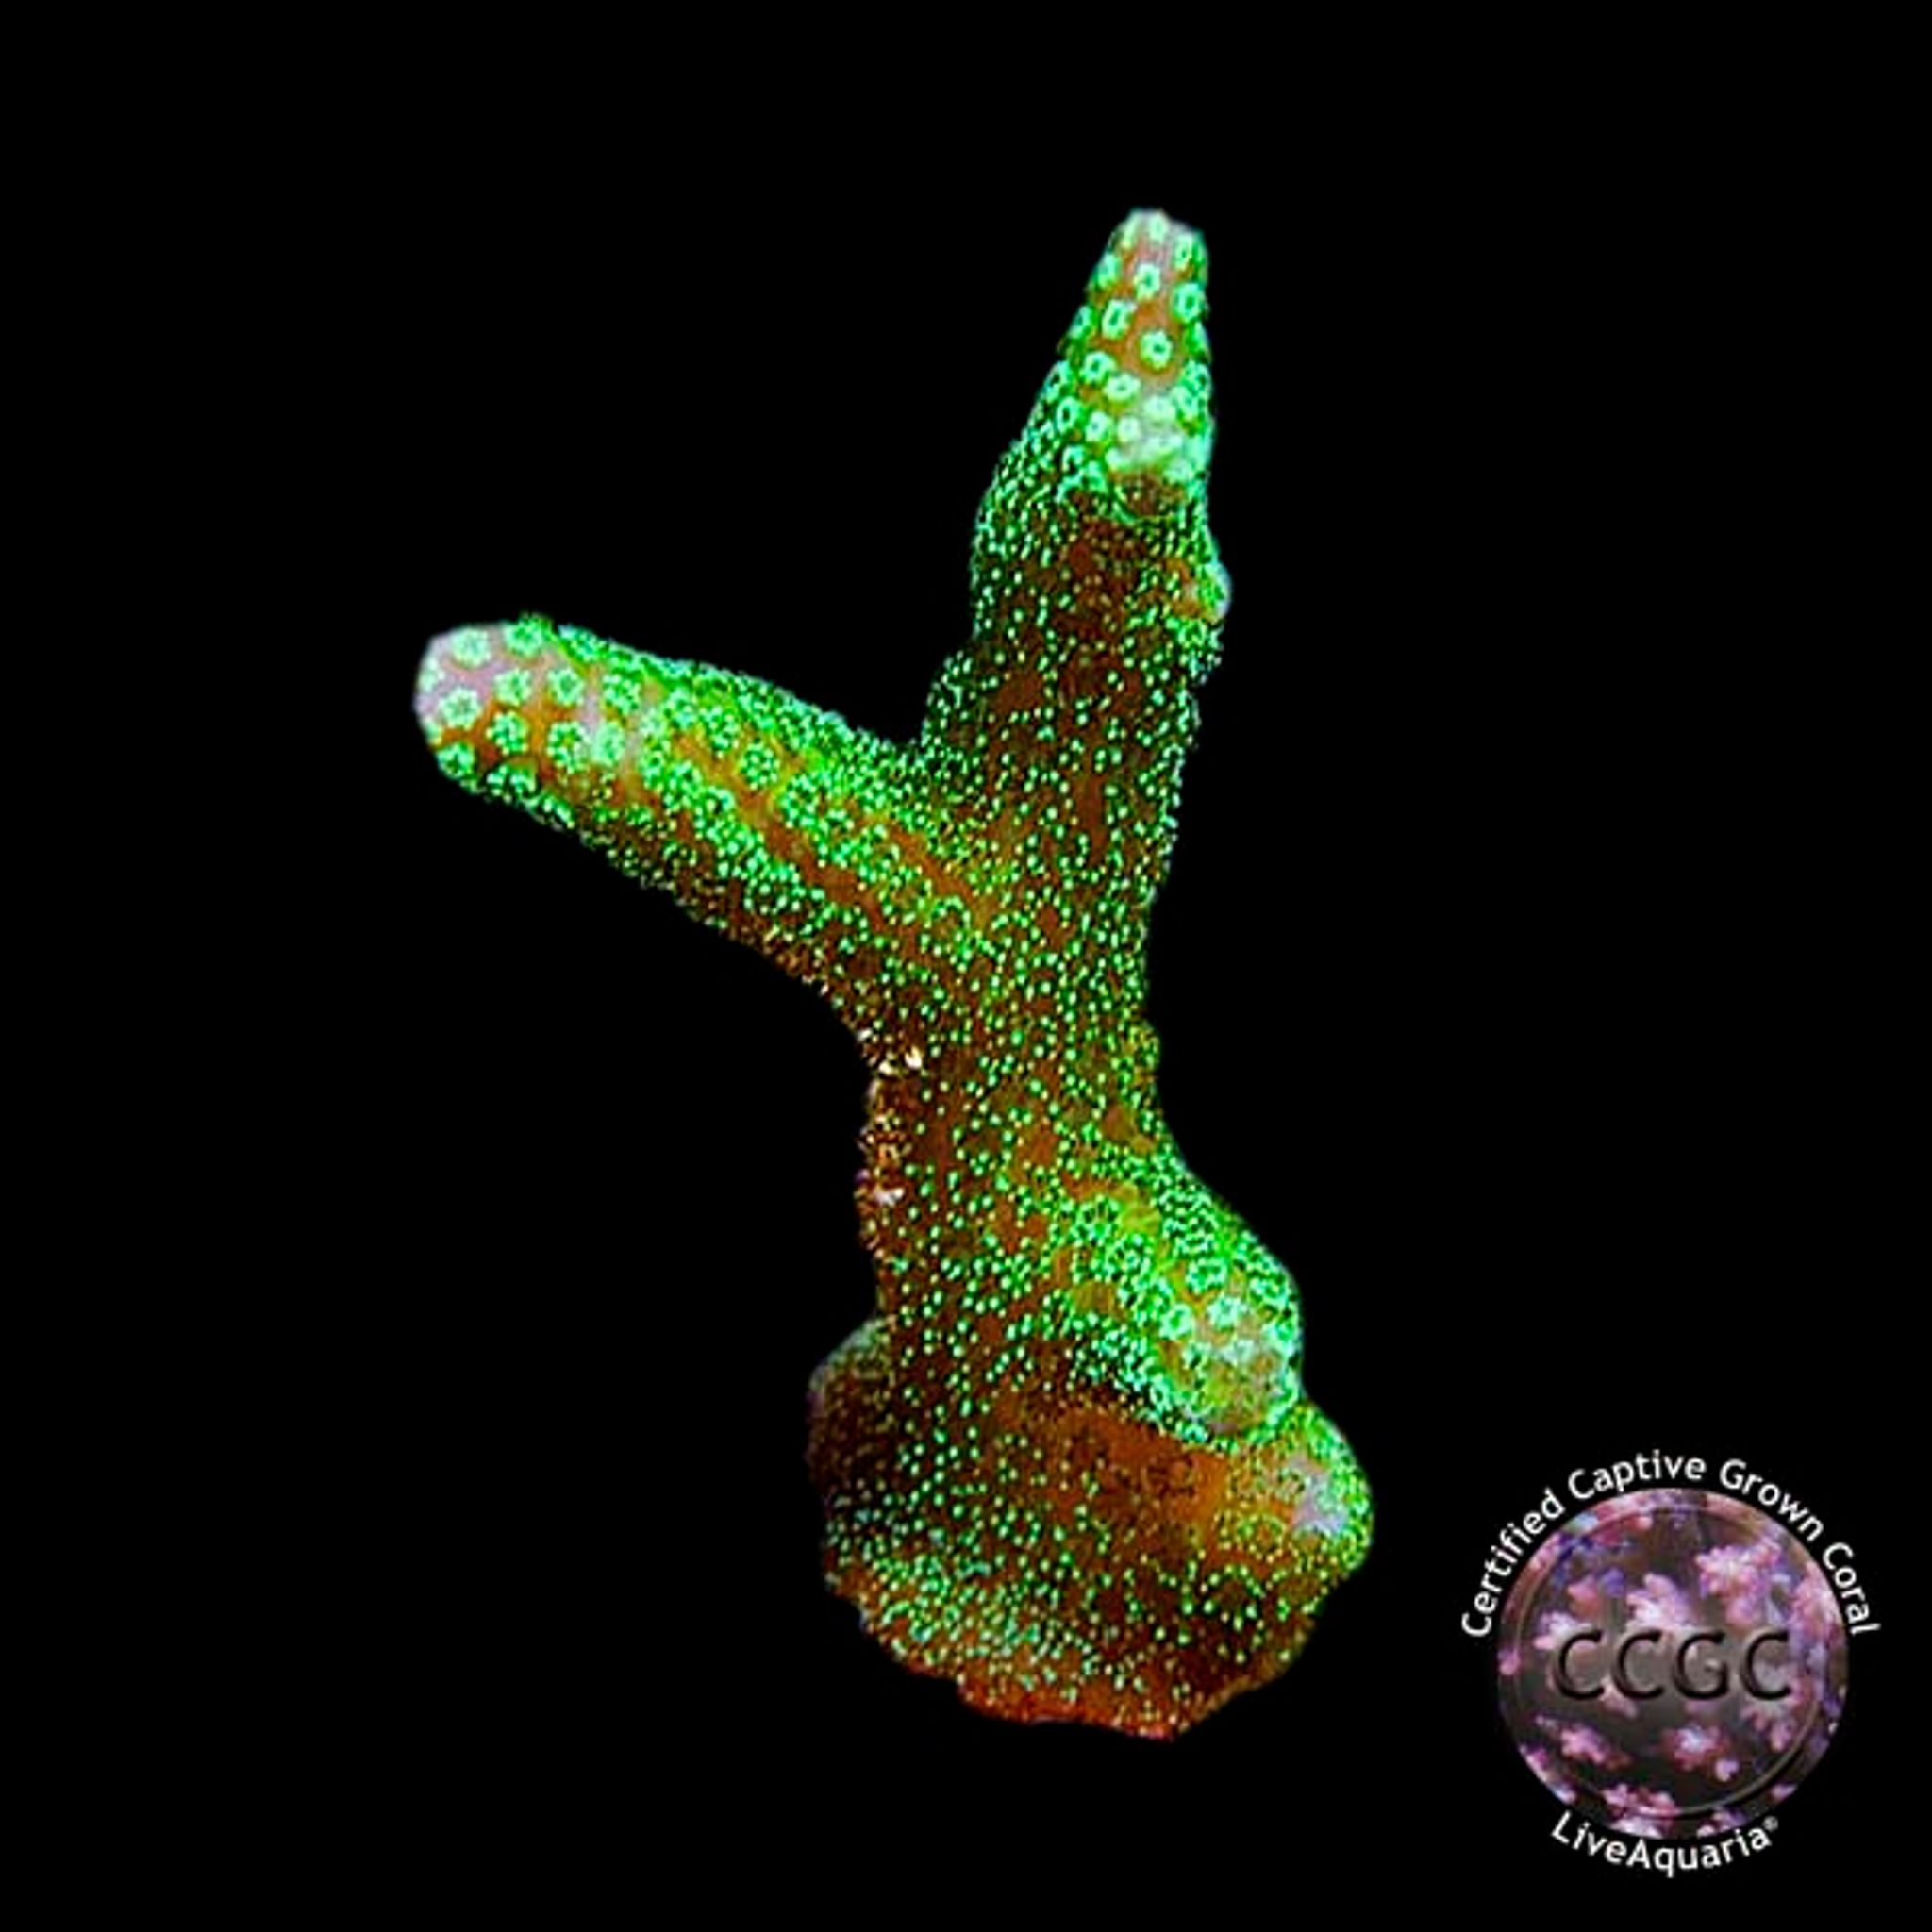
Best Placement for Birdsnest Coral: PAR, Flow and Space Requirements
Birdsnest coral (Seriatopora spp.) rewards good placement with fast, colorful growth and punishes bad placement with bleaching or tissue loss within days. This guide gives you the specific PAR range, flow pattern, and spacing math to get it right the first time, along with a troubleshooting checklist if something already looks off.
What Birdsnest Coral Is and Why Placement Matters So Much
Birdsnest coral is a small-polyp stony (SPS) coral in the genus Seriatopora, including S. hystrix, S. guttatus, and S. caliendrum. It grows as branching, twig-like colonies in pink, purple, green, orange, or blue-tipped morphs. Like all branching SPS, it's a colonial animal: individual polyps share one connected skeleton, and the branch tips are the active growth points. That colonial structure is exactly why placement is a whole-colony problem, not a "just point light at the top" problem — light and flow need to penetrate the entire branch mass, not just the outer surface, or interior tissue starves and recedes.
It's often labeled a beginner SPS because it's more forgiving than Acropora, but it's still an SPS. It needs a stable, mature reef system — generally one that's held steady parameters for at least six months — not a brand-new tank. Think of it as a good first SPS, not a good first coral.
Target water chemistry:
| Parameter | Target Range |
|---|---|
| Salinity | ~1.025 SG |
| Temperature | 76–80°F (24–27°C) |
| pH | 8.1–8.4 |
| Alkalinity | 8–11 dKH |
| Calcium | 380–450 ppm |
| Magnesium | 1250–1350 ppm |
| Nitrate | Under 10 ppm |
| Phosphate | Under 0.1 ppm |
PAR: How Much Light Birdsnest Coral Actually Needs
Birdsnest coral wants moderate-to-high light, roughly 150–300 µmol/m²/s measured with a PAR meter, with most home tanks landing best around 200–250 µmol/m²/s once the coral is established. That's meaningfully lower than Acropora's demands, but higher than soft corals or most LPS.
Sources genuinely disagree on the exact number, and the disagreement matters for how you act:
- Some recommend starting new frags as low as 100–150 µmol/m²/s.
- Others report mature, well-acclimated colonies thriving at 250–350 µmol/m²/s under intense LED systems.
The sensible approach: start a new frag at 100–150 µmol/m²/s, acclimate upward toward a steady-state target of 150–250 for most home reef tanks, and only push past 300 if that specific colony has been slowly conditioned over weeks and is responding with good color and tip growth.
Acclimation Schedule
Ramp up light gradually over 2–4 weeks rather than moving a coral straight to its target spot. Start it lower in the tank or under shade (a mesh screen, or the shadow of overhanging rock), then raise it or increase fixture intensity in small steps. This matters more with LEDs than with older lighting:
- T5 fluorescent and metal halide systems tend to have a broader, more forgiving spread of intensity, so overshooting the PAR target by accident is less common.
- LED fixtures can deliver very high point-source intensity from a small area, so it's easy to blast a coral with far more PAR than intended within the first few days. Ramp-up schedules and gradual acclimation matter more with LEDs — dial in intensity percentages slowly rather than running a new fixture at full output on day one.
Flow: Turbulent, Not a Laminar Jet
Birdsnest coral wants medium-to-high, turbulent (random) flow — not a single laminar jet blasting straight into the colony. In general terms, aim for roughly 15–25x total tank volume in turnover per hour from combined pump output, directed to move across the colony rather than directly into it.
Flow guidance varies by source because Seriatopora occurs on both higher-energy reef crests and calmer lagoon patches in the wild. The practical reconciliation: aim for medium-high random flow strong enough to gently sway the smaller branch tips, but don't reserve your single highest-flow zone for it — save that for reef-crest Acropora. Turbulent flow matters because it keeps gas exchange happening across every branch surface and prevents detritus from settling inside the branch interior, which is one of the more common causes of slow tissue recession.
Where to Place It: Zone, Tank-Size Math, and Spacing
The Zone
Place birdsnest coral in the upper third to middle of the water column — on top of rockwork, an upper aquascape shelf, or hung from an upper ledge. Avoid two extremes:
- Directly against high-output LED or T5 fixtures without acclimation, which can bleach or burn tissue.
- Dim bottom zones, where colors wash out, growth slows, and polyps stay retracted from insufficient light.
Matching Placement to Tank Size
Generic PAR ranges are only useful once you translate them to your actual tank. Use this as a starting framework:
| Tank Size | Realistic Light Delivery | Placement Takeaway |
|---|---|---|
| Nano (10–20 gal / 38–76 L) | Fixtures often sit close to the water; PAR can spike fast near the surface | Mount lower in the upper-third zone, not right at the top; acclimate slowly and check with a meter before committing |
| Mid-size (40–75 gal / 151–284 L) | Standard reef LED/T5 combo delivers 150–250 µmol/m²/s comfortably mid-to-upper column | Most straightforward placement zone; upper rock shelves work well |
| Large (90+ gal / 340+ L) | Light spreads over more surface area and depth; corners and lower rock may run noticeably dimmer | Keep birdsnest on the upper-middle rockwork, not tucked into deep or shaded corners even if space is available |
Spacing for Adult Size, Not Frag Size
Birdsnest coral is one of the faster-growing SPS, capable of reaching 6–12+ inches (15–30+ cm) across within 1–2 years and often doubling branch length in a matter of months. Leave at least 4–6 inches (10–15 cm) of clearance from other corals, glass, and rock when you place it — plan for its adult footprint, not the size of the frag you're holding.
It's mildly-to-moderately aggressive: it lacks strong sweeper tentacles, but its rapid growth lets it physically crowd or shade slower-growing neighbors. Spacing, not chemical warfare, is the main defense here — keep it away from anemones and more delicate SPS until you know its growth rate in your specific tank. Once you've confirmed placement, colonies from FishyHub's SPS coral selection can be mounted onto bare rock with cyanoacrylate glue or epoxy, where the base will encrust over time.
Supporting Chemistry That Makes Placement More Forgiving
Placement decisions get a lot easier when your chemistry is stable, because you spend less time chasing recovery from swings.
Two-Part (Ca/Alk) Dosing Basics
Two-part dosing means adding a calcium chloride solution and an alkalinity/buffer solution daily to replace what corals consume as they build skeleton. Fast growers like birdsnest coral pull down calcium and alkalinity quickly, and consistent, non-fluctuating alkalinity matters more than hitting an exact number. A steady 8 dKH beats a swing between 7 and 11.
DIY Two-Part Systems
Hobbyists can mix a homemade two-part system from calcium chloride, soda ash or baking soda, and RO/DI water as a cheaper alternative to commercial mixes. Whether homemade or commercial, accuracy and a consistent dosing schedule matter far more than which one you choose.
The Carbonate System, Briefly
Alkalinity buffers pH and supplies the carbonate ions that corals combine with calcium to build their aragonite skeleton. Keeping alkalinity stable prevents the swings that stress SPS corals like birdsnest — this is the chemistry reason "stability over perfection" keeps coming up.
Sumps and Nutrient Control
A sump adds water volume (which buffers parameter swings), hides equipment like heaters, dosers, and reactors, and can host a refugium or macroalgae chamber. A refugium growing chaeto, or a dedicated nitrate/phosphate reactor chamber, helps hold nitrate and phosphate in the ranges birdsnest coral needs for good color and to avoid nuisance algae competing for the same rock space. None of this is strictly required, but it makes placement outcomes more forgiving.
Common Mistakes and How to Fix Them
| Mistake | What Happens | Fix |
|---|---|---|
| New frag placed directly under high-PAR LEDs | Bleaching or paling within days | Relocate to a shadier or lower spot, then step intensity up gradually |
| Flow "dead spot" behind rockwork | Detritus and algae film build up inside branches; tissue recession starts at the base | Reposition the colony or add a small directed powerhead |
| No spacing plan | Fast growth crowds neighbors within months | Plan 4–6 inches of clearance up front; monitor growth and re-frag or relocate before contact |
| Chasing exact parameter numbers | Inconsistent dosing swings alkalinity/calcium, triggering RTN or bleaching faster than a stable-but-imperfect parameter would | Prioritize consistency over hitting an exact target |
| Assuming shipping stress is a placement problem | New frags show temporary polyp retraction or paling from transport, not necessarily bad light or flow | Wait 1–2 weeks before changing placement |
Shipping Stress vs. Placement-Caused Bleaching
These look similar but aren't the same problem. Shipping stress typically shows up immediately as pale coloring or closed polyps that gradually improve over 1–2 weeks with no placement change. Placement-caused bleaching tends to worsen over that same window, often starting on the side facing the light or on branch tips catching the most direct flow. If color is trending better week over week, leave it alone; if it's trending worse, that's your signal to move it.
Repositioning an Already-Encrusted Colony
If a mounted colony turns out to be in the wrong spot months later, you have two options: cut the coral away from the rock at the base with bone shears (usable as new frags) or remove the entire rock piece it's attached to and relocate that. Cutting into encrusted tissue carries more risk of stress than moving the whole rock, so relocate the rock piece whenever your aquascape allows it.
Is It Happy? A Quick Feedback Checklist
- Polyp extension: tissue should extend visibly within an hour or two of lights-on and stay extended through the photoperiod.
- Tip coloration: branch tips should hold or intensify color, not pale or go stark white.
- Encrustation: the base should visibly spread and adhere to the mount within a few weeks, a sign light and flow are adequate.
Frequently Asked Questions
What PAR does birdsnest coral need?
Roughly 150–250 µmol/m²/s in the upper-to-mid water column, reached by acclimating gradually from a lower starting point of 100–150 µmol/m²/s over 2–4 weeks.
Where's the best spot to place birdsnest coral in my tank?
The upper third to middle of the aquascape, on elevated rock, positioned in medium-high ambient flow but out of the direct blast of a return nozzle or powerhead.
How much space does birdsnest coral need from other corals?
At least 4–6 inches (10–15 cm) on all sides, more as it matures, since it's one of the faster-growing SPS and will close that gap quickly.
Can birdsnest coral go in a beginner tank?
Only once the tank itself is established, with parameters stable for several months. It's a good first SPS, but not a good first coral overall.
Why is my birdsnest coral losing color or bleaching?
Usually too much light introduced too soon, unstable alkalinity or calcium, or insufficient flow causing detritus to build up inside the branches. Check acclimation history and parameter stability before changing anything else.
Does birdsnest coral need a sump or dosing system?
Not strictly required, but stable alkalinity and calcium (through dosing or regular water changes) along with consistent nutrient export via a sump, refugium, or otherwise make placement decisions far more forgiving.
Ready to find your next colony? Browse FishyHub's full range of marine coral livestock, including SPS frags suited to the placement guidelines above, along with the LED lighting to support them.

